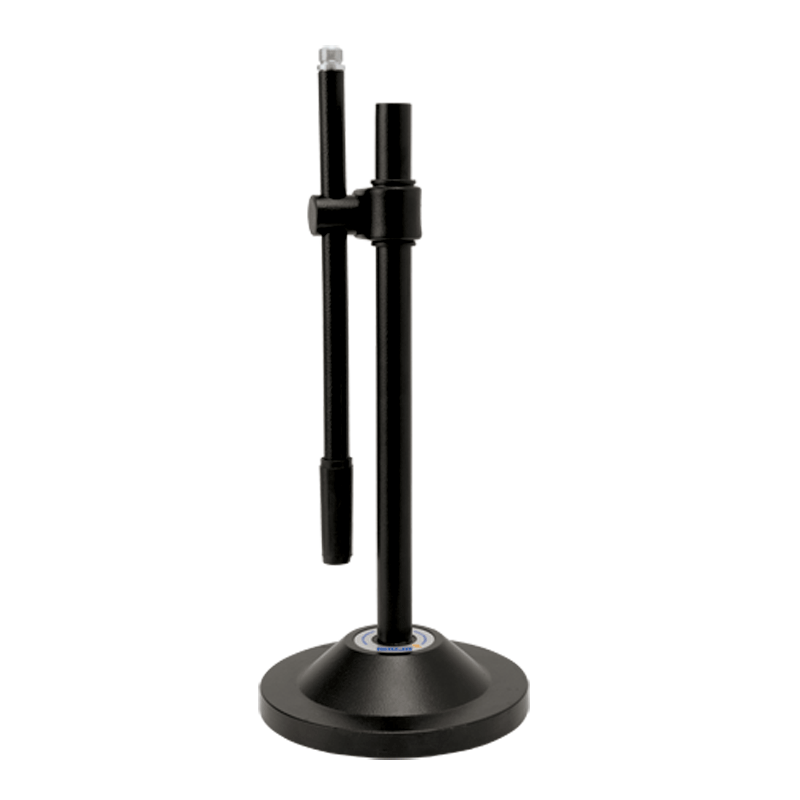
Step 1: Unboxing – Gently remove all components of the Ahuja ATS200 microphone stand from the packaging, ensuring you have the base, adjustable rod, microphone holder, and any accompanying screws or attachments.
Step 2: Base Assembly – Place the sturdy base of the microphone stand on a flat and stable surface. Ensure it sits securely to provide a stable foundation for the stand.
Step 3: Adjust Height – Extend the adjustable rod to your preferred height by loosening the tightening mechanism located on the side of the stand. Adjust the height to suit your needs, whether you’re standing or sitting during use.
Step 4: Attach Microphone Holder – Depending on the design of the microphone holder provided, either screw or snap it onto the top of the adjustable rod. Ensure it is firmly attached and positioned correctly to securely hold your microphone.
Step 5: Secure Microphone – Carefully place your microphone into the holder, ensuring it is positioned correctly and securely held in place. Adjust any angle or tilt settings on the microphone holder as needed to achieve the desired microphone position for optimal performance.
Once assembled, your Ahuja ATS200 microphone stand is ready to be used for recording, broadcasting, or live performances. Always double-check the stability and adjustability of the stand before use, and handle both the microphone and stand with care to prevent any damage.
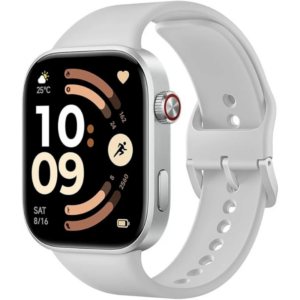
Redmi M2523 Smart Watch 6 Silver Gray
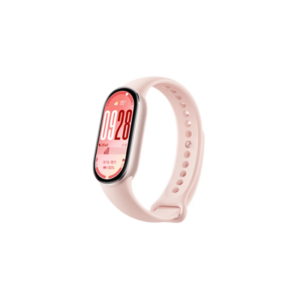
Xiaomi M2459B1 Smart Band 10 Mystic Rose
OMNIKEY 3121 CARD READER
Cleo Plastic Recorder
Kalimba 17 Keys Finger Piano
GameSir F5 Falcon Mini Mobile Gaming Controller
Sony PS4 Village Resident Evil Game CD
Dobe Keyboard Tp4 822
Ahuja 2sa 1943 Spare Transistor
DOBE PS4 TP4 023B Charging STAND
Bm 13k Bee Melodica
New Arrivals
Offers
Service & Repair


There are no reviews yet.