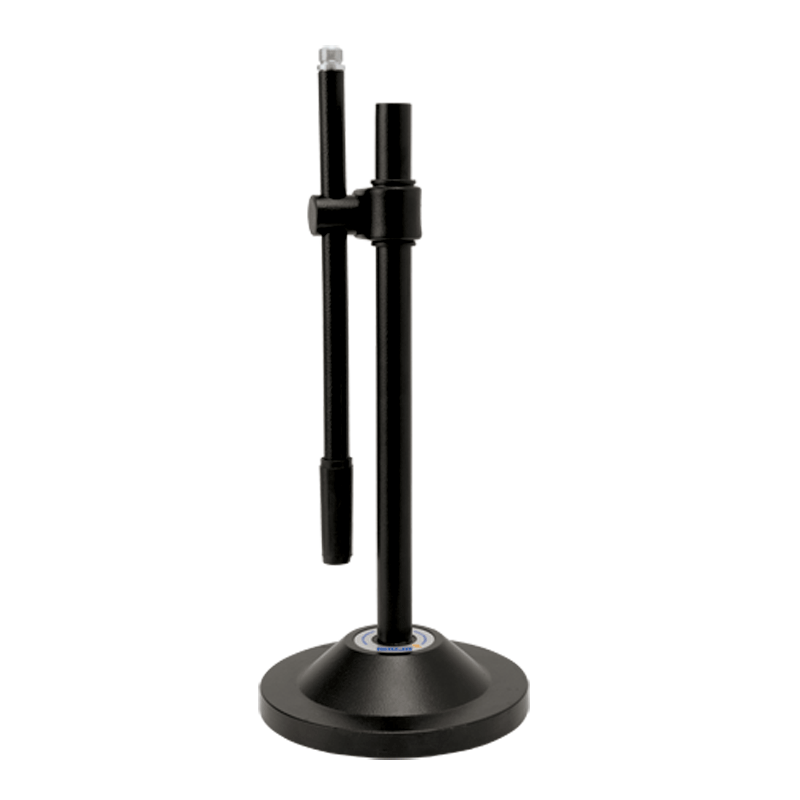
Step 1: Unboxing – Gently remove all components of the Ahuja ATS200 microphone stand from the packaging, ensuring you have the base, adjustable rod, microphone holder, and any accompanying screws or attachments.
Step 2: Base Assembly – Place the sturdy base of the microphone stand on a flat and stable surface. Ensure it sits securely to provide a stable foundation for the stand.
Step 3: Adjust Height – Extend the adjustable rod to your preferred height by loosening the tightening mechanism located on the side of the stand. Adjust the height to suit your needs, whether you’re standing or sitting during use.
Step 4: Attach Microphone Holder – Depending on the design of the microphone holder provided, either screw or snap it onto the top of the adjustable rod. Ensure it is firmly attached and positioned correctly to securely hold your microphone.
Step 5: Secure Microphone – Carefully place your microphone into the holder, ensuring it is positioned correctly and securely held in place. Adjust any angle or tilt settings on the microphone holder as needed to achieve the desired microphone position for optimal performance.
Once assembled, your Ahuja ATS200 microphone stand is ready to be used for recording, broadcasting, or live performances. Always double-check the stability and adjustability of the stand before use, and handle both the microphone and stand with care to prevent any damage.
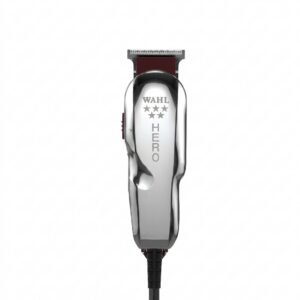
WAHL HERO PROFESSIONAL TRIMMER 8991
Sony PS4 Spider Man Game CD
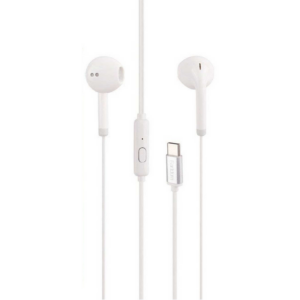
Earldom ET E70 Type C Earphone With Microphone
DOBE PS4 TP4 023B Charging STAND
MI BEBIRD D3 PRO SMART VISUAL EAR CLEANER
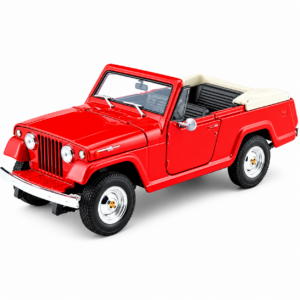
Welly Metal Car Jeep Jeepster Commando Roadster Size 1.24 WL-24117C-W
Welly Metal Car Mercedes Benz 600 Size 1.24 WL-24121W
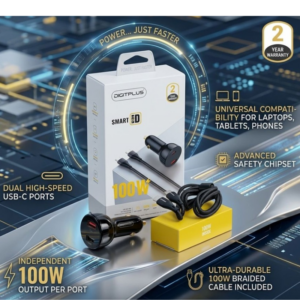
DigitPlus Car Charger 100w CC-DP-C101
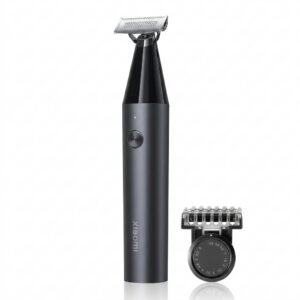
Xiaomi UniBlade Trimmer X300
Philips 1000 Series Body Groomer BG1025/15
Cleo-EL Action Camera 4K With Screen
Boya By Wm8 Pro K2 Uhf Dual Channel Wireless Microphone
XBOX ONE TOM CLANCY'S THE DIVISON 2 GAME CD
Cpt Guitar 3713c
New Arrivals
Offers
Service & Repair


There are no reviews yet.