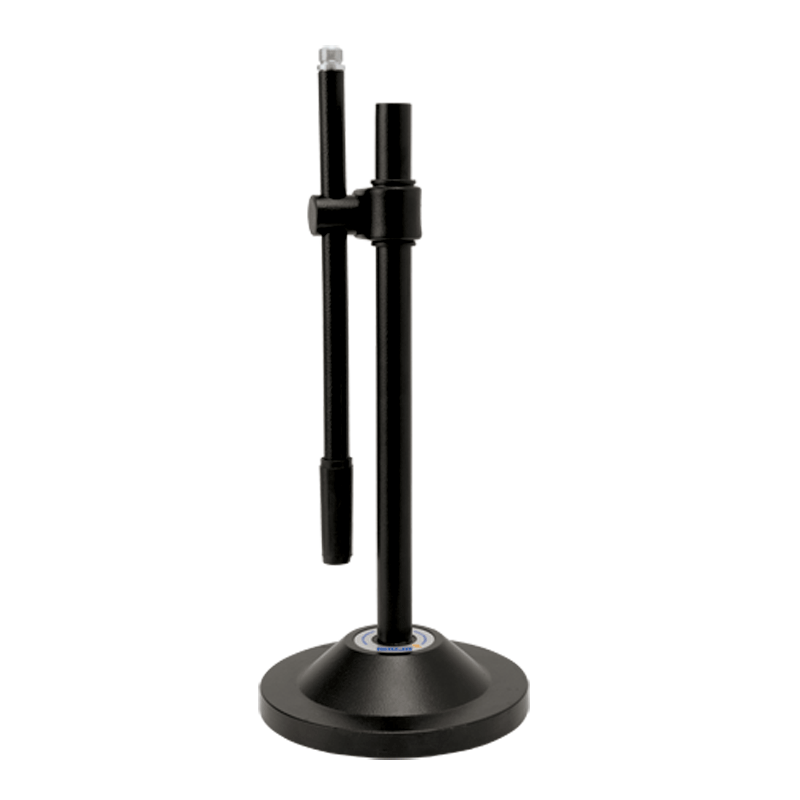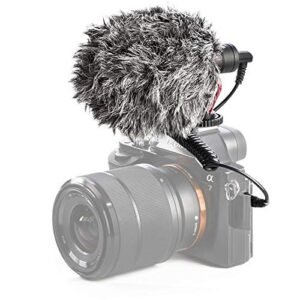
Step 1: Unboxing – Gently remove all components of the Ahuja ATS200 microphone stand from the packaging, ensuring you have the base, adjustable rod, microphone holder, and any accompanying screws or attachments.
Step 2: Base Assembly – Place the sturdy base of the microphone stand on a flat and stable surface. Ensure it sits securely to provide a stable foundation for the stand.
Step 3: Adjust Height – Extend the adjustable rod to your preferred height by loosening the tightening mechanism located on the side of the stand. Adjust the height to suit your needs, whether you’re standing or sitting during use.
Step 4: Attach Microphone Holder – Depending on the design of the microphone holder provided, either screw or snap it onto the top of the adjustable rod. Ensure it is firmly attached and positioned correctly to securely hold your microphone.
Step 5: Secure Microphone – Carefully place your microphone into the holder, ensuring it is positioned correctly and securely held in place. Adjust any angle or tilt settings on the microphone holder as needed to achieve the desired microphone position for optimal performance.
Once assembled, your Ahuja ATS200 microphone stand is ready to be used for recording, broadcasting, or live performances. Always double-check the stability and adjustability of the stand before use, and handle both the microphone and stand with care to prevent any damage.
Candc DC C9 Cardioid Microphone
ROCK W24 Double side Quick CHARGER
GH1001 RED MAGIC Game Handle
Bm 13k Bee Melodica
Itc T105 5inch Ceiling Speaker 1.5W,3W,6W 100V CUTOUT 175mm
Boya By Wm4 Pro K3 2.4ghz Wireless Microphone System
Sony PS5 Dual Sense Wireless Controller - White
DOBE PS4 TP4 023B Charging STAND
Kalimba 17 Keys Finger Piano
ADJUSTABLE ONE PIECE WAIST BAND TW 32093
Sunglass Hugo hg 0133s 003pr 140
Ahuja Utp30 Wired Tie Clip Mic
Tolaye Ks06 Keyboard Stand
New Arrivals
Offers
Service & Repair


There are no reviews yet.