-
×
 BOYA BY MM1 MICROPHONE
1 × 3.500 OMR
BOYA BY MM1 MICROPHONE
1 × 3.500 OMR
Subtotal: 3.500 OMR
SKU: 310000130-1
In stock
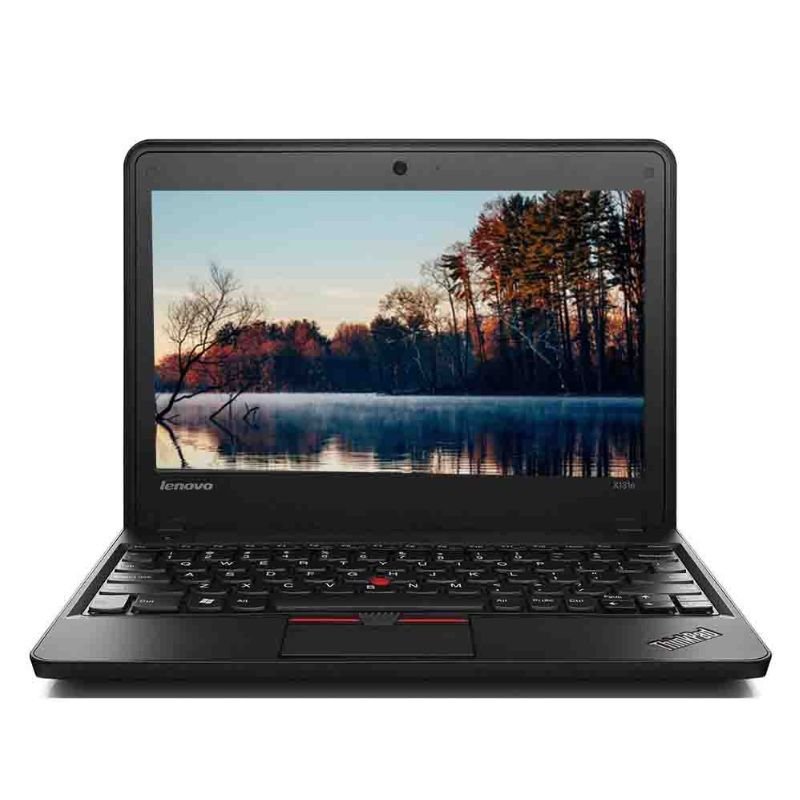
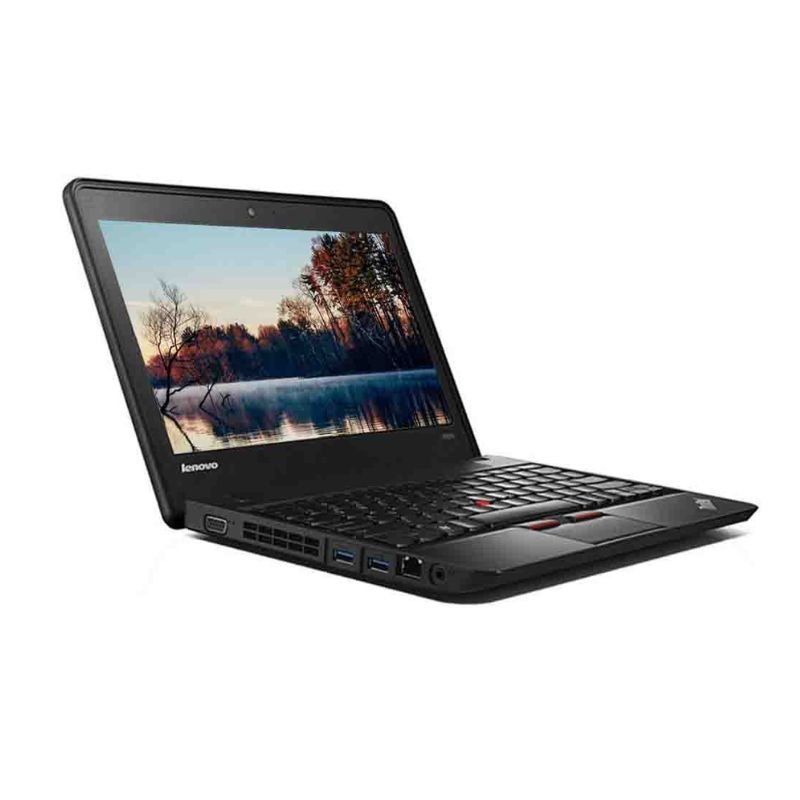
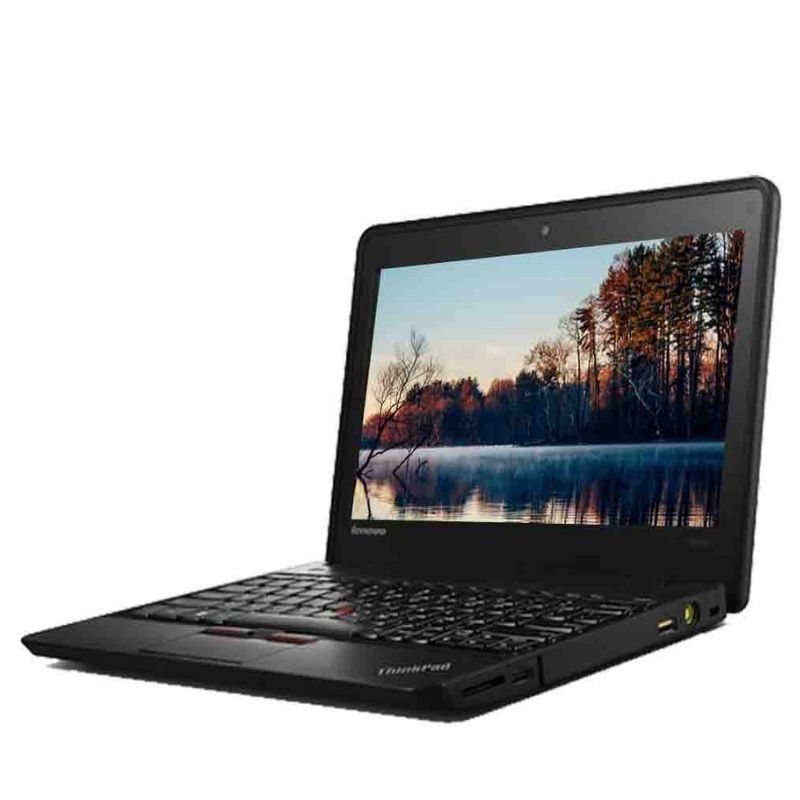
| PROCESSOR | intel celeron |
| ROM: | 256GB |
| RAM: | 4gb |
| TOUCH: | NO |
| GENERATION | 1ST |
| DISPLAY: | 12 |
27.400 OMR
In stock
1. **Inspect the Laptop**: Before turning on the laptop, inspect it for any physical damage, such as cracks, dents, or scratches. Check the screen, keyboard, ports, and overall condition of the laptop.
2. **Power On**: Press the power button located on the laptop’s keyboard or near the edge of the laptop to turn it on. Wait for the laptop to boot up, which may take a few moments.
3. **Setup**: If the laptop has been reset to factory settings, you’ll need to go through the initial setup process. Follow the on-screen instructions to select your language, region, time zone, and set up user accounts.
4. **Connect to Wi-Fi**: Once the initial setup is complete, connect the laptop to a Wi-Fi network. Click on the Wi-Fi icon in the system tray (usually located in the bottom-right corner of the screen) and select the network you want to connect to. Enter the Wi-Fi password if prompted.
5. **Explore the Desktop**: Once connected to the internet, take some time to familiarize yourself with the laptop’s desktop interface. This may include the desktop background, icons, taskbar, and start menu.
6. **Update Software**: Check for any available software updates for the operating system and other installed programs. Updates can improve security, stability, and performance. Go to the settings or control panel to access the update options.
7. **Install Antivirus Software**: To protect your laptop from malware and viruses, consider installing antivirus software. You can download and install a trusted antivirus program from the internet or use built-in security features if available.
8. **Customize Settings**: Adjust the laptop’s settings according to your preferences. This may include display settings, power options, keyboard shortcuts, and more. Explore the control panel or settings menu to make changes.
9. **Install Applications**: Install any additional applications or programs you need for work, school, or personal use. You can download and install software from the internet or use pre-installed app stores or marketplaces.
10. **Backup Data**: It’s a good idea to regularly back up your data to prevent loss in case of hardware failure or other issues. Use external hard drives, cloud storage services, or backup software to create backups of important files and documents.
11. **Maintenance**: Regularly maintain your laptop by cleaning the keyboard, screen, and ports with a soft, dry cloth. Keep the laptop’s software updated and perform routine scans for malware and viruses.
12. **Shutdown or Sleep**: When you’re finished using the laptop, properly shut it down or put it to sleep to conserve battery life and prevent data loss. Click on the power icon in the start menu and select the shutdown or sleep option.
Following these steps will help you effectively use a used ThinkPad X140E laptop and make the most out of its features and capabilities.
The ANNKE DVR DN41R is a reliable digital video recorder designed to enhance home and business security systems. With support for multiple camera channels, it enables seamless monitoring and recording of high-definition video footage. Equipped with advanced features such as motion detection, remote access, and H.265+ video compression, it optimizes storage space while ensuring efficient and reliable performance. Easy to set up and operate, the ANNKE DVR DN41R provides peace of mind by safeguarding your property with its robust surveillance capabilities.
 New Arrivals
 Offers
 Service & Repair


There are no reviews yet.