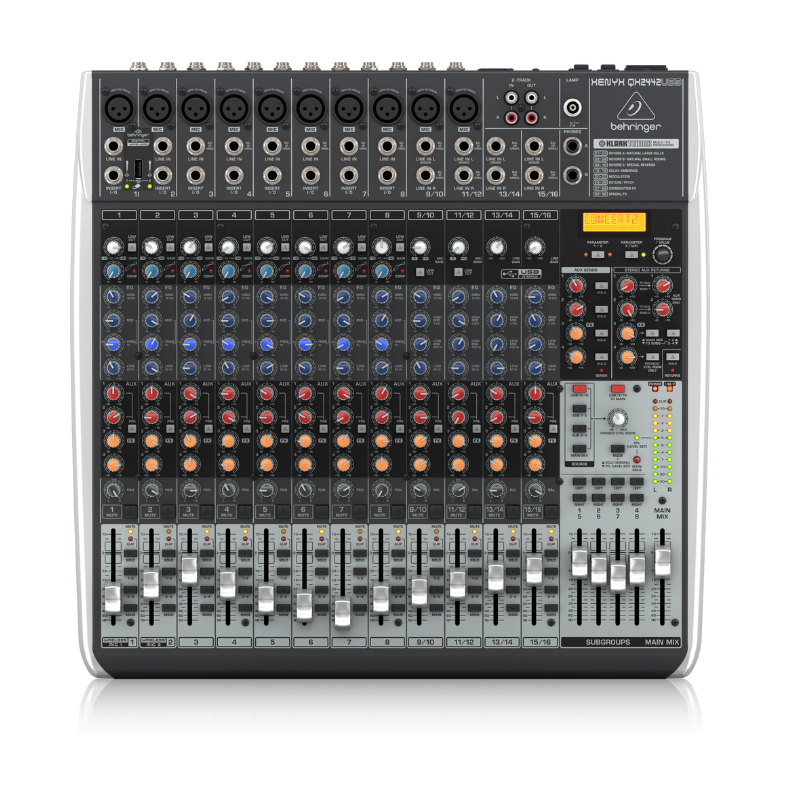
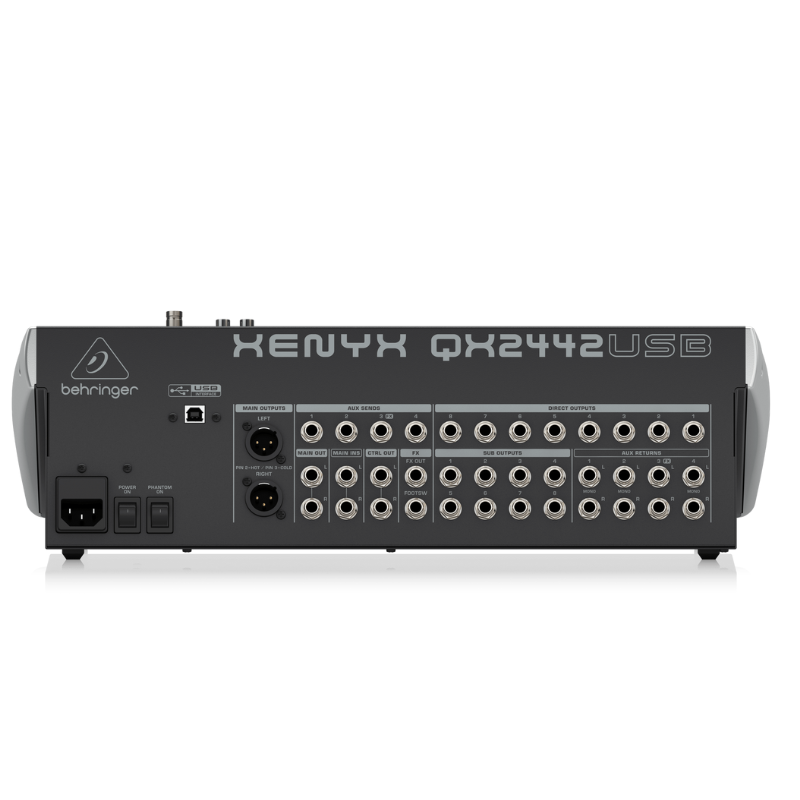
1. **Connecting Inputs**: Begin by connecting your microphones and other audio sources to the mixer’s input channels. The QX2442 has 10 XLR microphone inputs and 4 stereo line inputs, offering flexibility for various audio sources.
2. **Adjusting Levels**: Set the input levels using the gain controls located next to each input channel. Adjust these carefully to ensure optimal signal without clipping or distortion, indicated by the LED meters on each channel.
3. **Mixing and Effects**: Use the channel faders to adjust the volume of each input channel in your mix. The QX2442 includes built-in digital effects such as reverb, delay, chorus, and more. Use the FX send controls to add effects to individual channels or the entire mix.
4. **Monitoring**: Connect headphones to the headphone jack on the mixer for monitoring purposes. Use the headphone level control to adjust the volume to a comfortable level.
5. **Output and Recording**: Connect your main speakers or amplifier to the main outputs of the mixer. If you want to record your mix, use the USB connection to connect the mixer to your computer. Adjust the main output level to achieve the desired sound level in your venue or recording.
 SANDISK ULTRA 128GB 150MB/s USB TYPE-C FLASH DRIVE
1 × 5.800 OMR
SANDISK ULTRA 128GB 150MB/s USB TYPE-C FLASH DRIVE
1 × 5.800 OMR  Go-Des Gd 64Gb Usb Flash Drive Gb066
1 × 3.500 OMR
Go-Des Gd 64Gb Usb Flash Drive Gb066
1 × 3.500 OMR  Cpt Guitar 3713c
1 × 3.800 OMR
Cpt Guitar 3713c
1 × 3.800 OMR 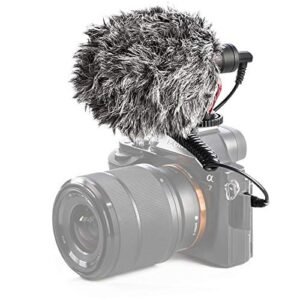 Candc DC C9 Cardioid Microphone
1 × 3.500 OMR
Candc DC C9 Cardioid Microphone
1 × 3.500 OMR  Boya By Wm4 Pro K3 2.4ghz Wireless Microphone System
1 × 49.900 OMR
Boya By Wm4 Pro K3 2.4ghz Wireless Microphone System
1 × 49.900 OMR  New Arrivals
 Offers
 Service & Repair
There are no reviews yet.