 أقل سعر
 الخدمة والإصلاح
 أحدث
أحدث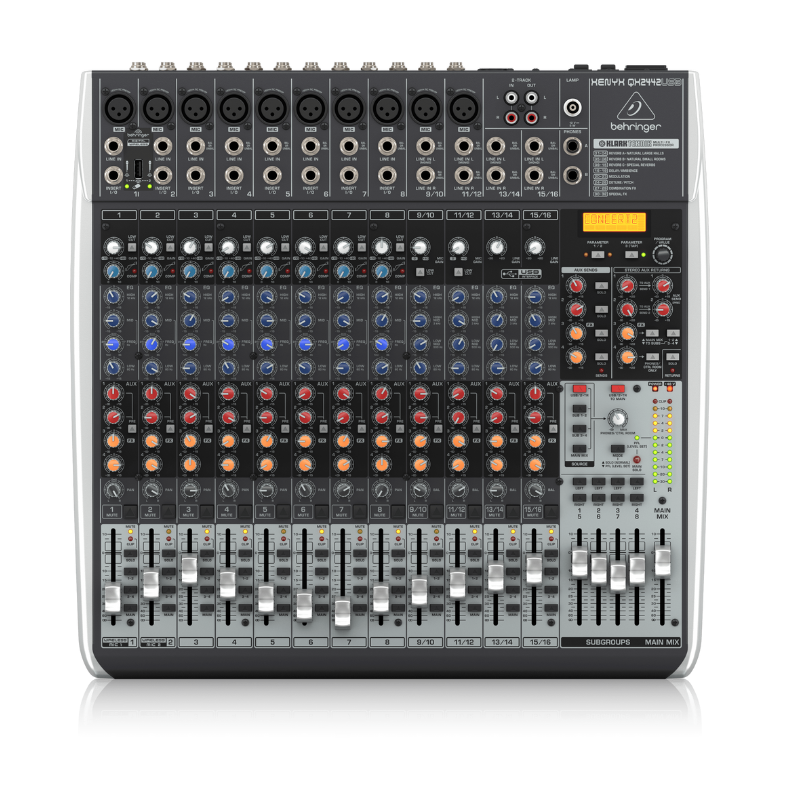
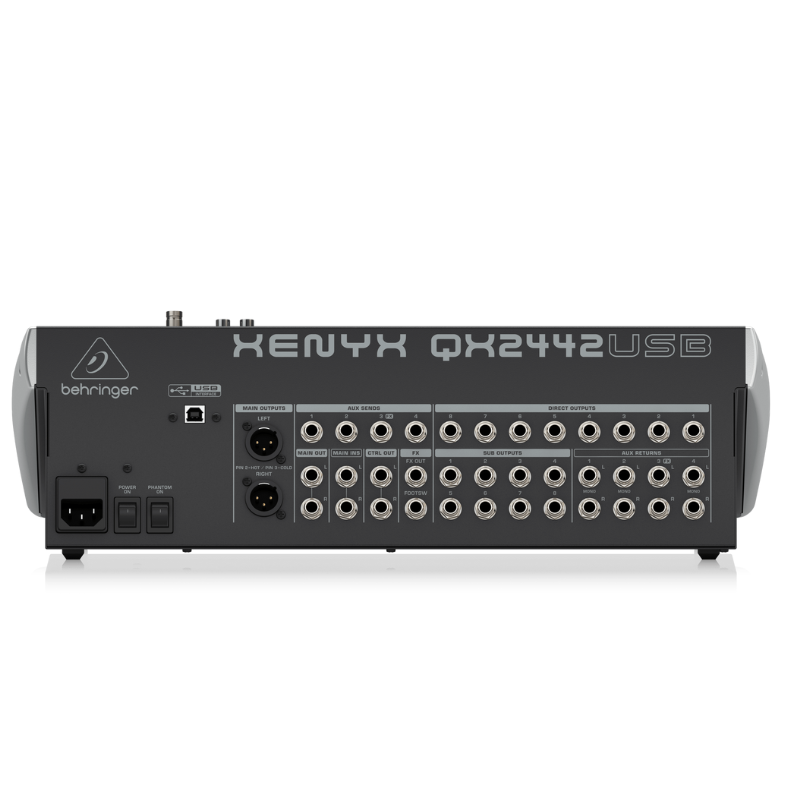
BEHRINGER QX2442 MIXER
SKU: 1402000081
متوفر في المخزون
The Behringer QX2442USB Mixer is a versatile audio mixing console designed for live sound reinforcement and recording applications. It features 10 XLR microphone inputs with state-of-the-art preamps, 4 stereo line inputs, and built-in digital effects for enhancing audio quality. With USB connectivity, it allows for easy integration with computers for recording and playback. The QX2442USB is known for its intuitive layout, robust build quality, and affordability, making it a popular choice among musicians, bands, and venues seeking a reliable mixing solution.
180.000 OMR
متوفر في المخزون
1. **Connecting Inputs**: Begin by connecting your microphones and other audio sources to the mixer’s input channels. The QX2442 has 10 XLR microphone inputs and 4 stereo line inputs, offering flexibility for various audio sources.
2. **Adjusting Levels**: Set the input levels using the gain controls located next to each input channel. Adjust these carefully to ensure optimal signal without clipping or distortion, indicated by the LED meters on each channel.
3. **Mixing and Effects**: Use the channel faders to adjust the volume of each input channel in your mix. The QX2442 includes built-in digital effects such as reverb, delay, chorus, and more. Use the FX send controls to add effects to individual channels or the entire mix.
4. **Monitoring**: Connect headphones to the headphone jack on the mixer for monitoring purposes. Use the headphone level control to adjust the volume to a comfortable level.
5. **Output and Recording**: Connect your main speakers or amplifier to the main outputs of the mixer. If you want to record your mix, use the USB connection to connect the mixer to your computer. Adjust the main output level to achieve the desired sound level in your venue or recording.


لا توجد مراجعات حتى الآن.