-
×
 Cle Usb Fridge
1 × 5.900 OMR
Cle Usb Fridge
1 × 5.900 OMR
Subtotal: 5.900 OMR
SKU: DT81DP
Out of stock
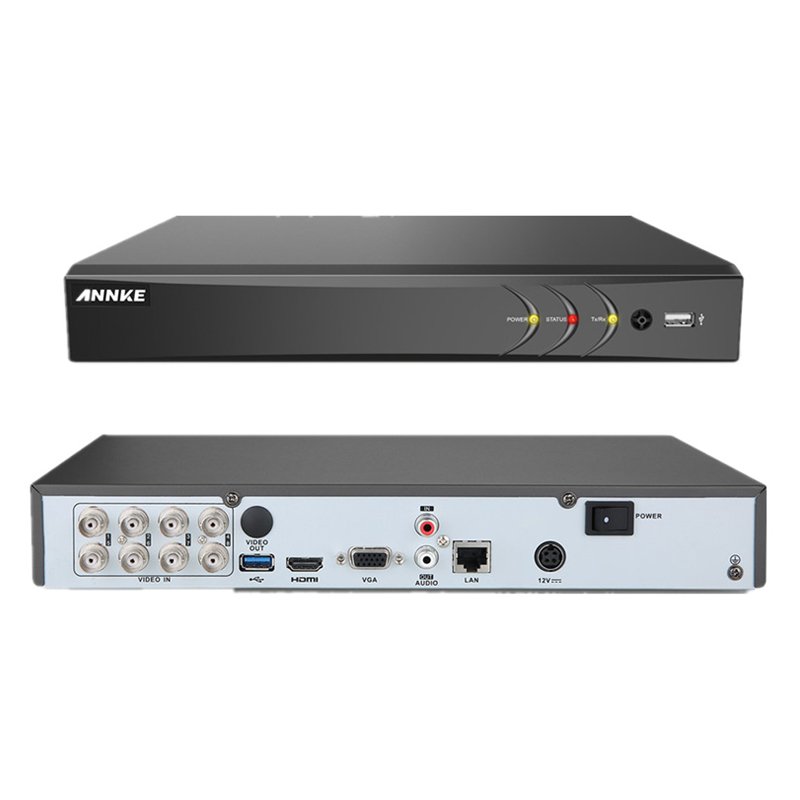
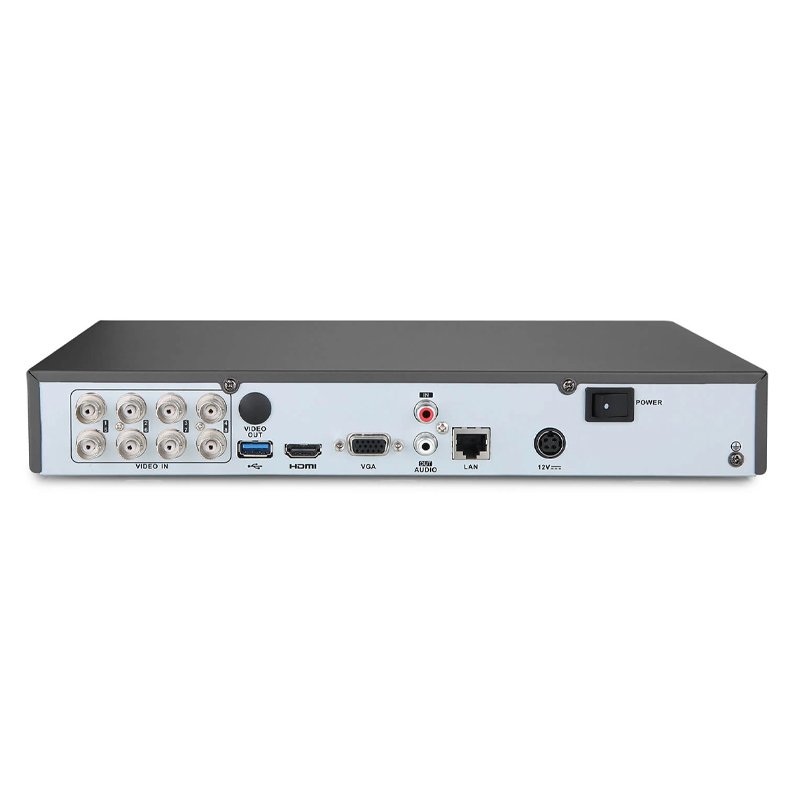
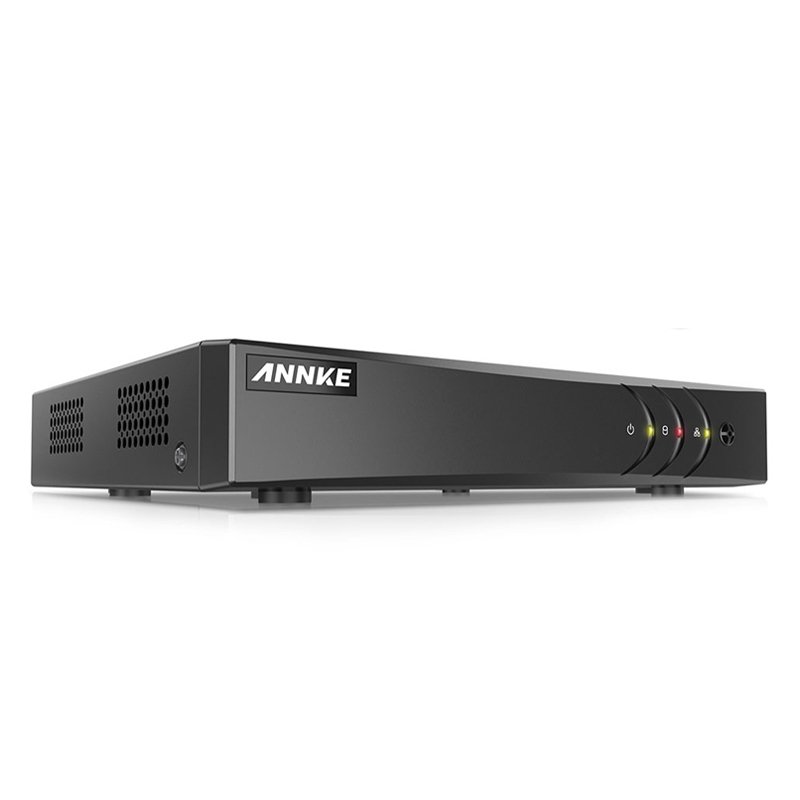
8CH 4K(8MP) Hybrid DVR
The ANNKE DVR DT81DP is a reliable digital video recorder tailored for home and business surveillance systems. Offering support for multiple camera channels, it facilitates seamless monitoring and recording of high-definition video footage. Equipped with advanced features such as motion detection, remote access, and H.265+ video compression, it optimizes storage space while ensuring efficient and reliable performance. Easy to set up and operate, the ANNKE DVR DT81DP provides peace of mind by safeguarding your property with its robust surveillance capabilities.
Out of stock
Sure, here’s a step-by-step guide for setting up the ANNKE DVR DT81DP:
1. **Unboxing and Setup**: Begin by unboxing the ANNKE DVR DT81DP and its accompanying accessories. Ensure you have all the necessary components, including the DVR, power adapter, remote control, and cables.
2. **Connection**: Connect your surveillance cameras to the DVR using the provided coaxial cables. Ensure each camera is securely connected to its corresponding channel on the DVR to enable video recording and monitoring.
3. **Power On**: Plug the DVR into a power source using the included power adapter. Power on the DVR and wait for it to boot up. Once powered on, the DVR will initialize and be ready for setup.
4. **Initial Setup**: Connect the DVR to a display monitor or TV using an HDMI or VGA cable. Follow the on-screen prompts to complete the initial setup, including language selection, date and time configuration, and network settings if applicable.
5. **Configuration and Monitoring**: Access the DVR’s menu interface using the included remote control or front panel buttons. Configure settings such as motion detection, recording schedules, and remote access options according to your preferences. You can then monitor live video feeds, playback recorded footage, and manage your surveillance system remotely using the ANNKE app or software.
 New Arrivals
 Offers
 Service & Repair


There are no reviews yet.