 New Arrivals
 Offers
 Service & Repair
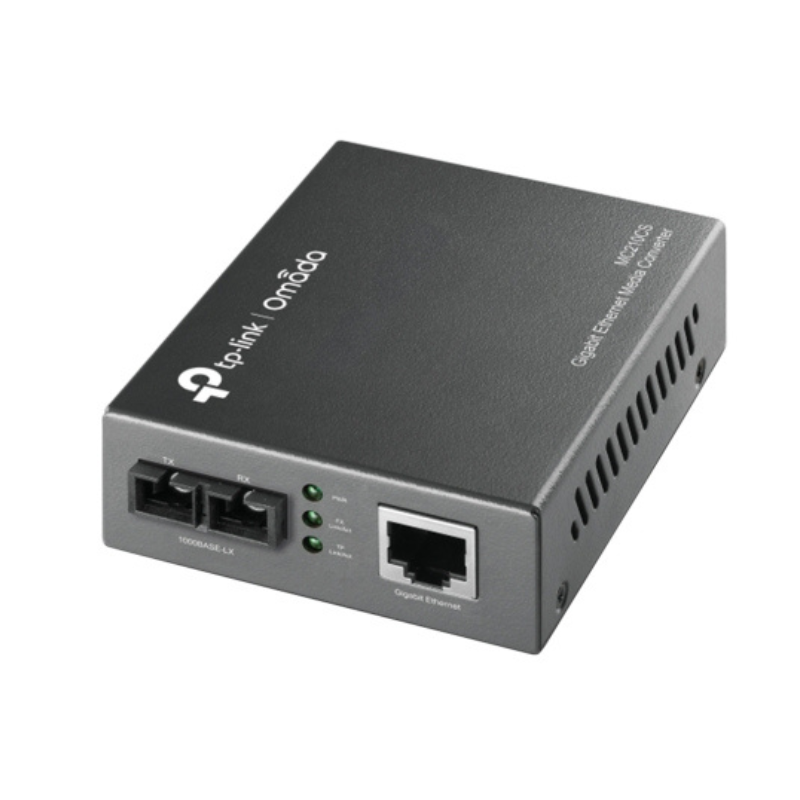
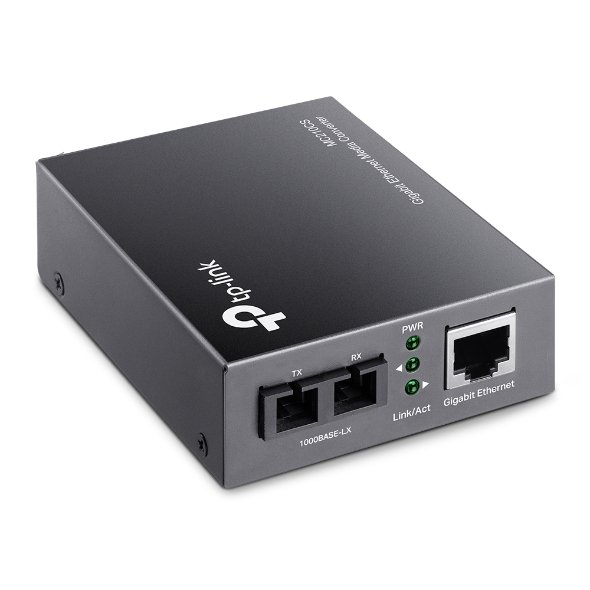
Tp-link Gigabit Single Mode Media Converter Mc210cs
SKU:
In stock
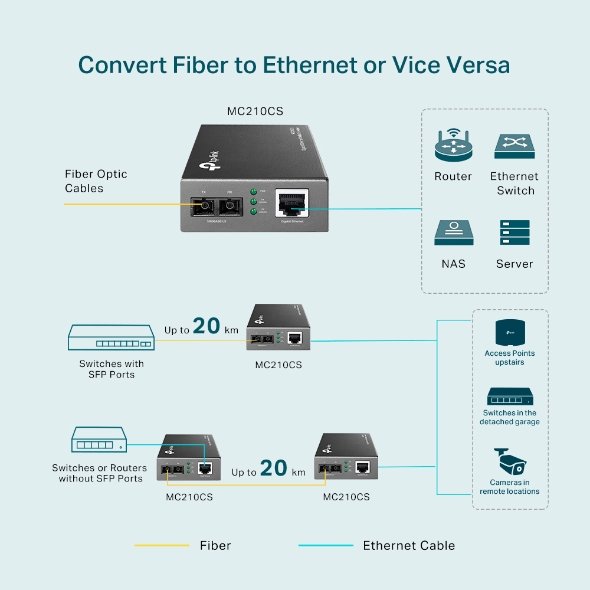
The TP-Link Gigabit Single Mode Media Converter MC210CS enables seamless network conversion from fiber optic to Ethernet with speeds up to 1Gbps. It supports long-distance communication over single-mode fiber and is ideal for expanding or bridging networks over greater distances.
8.950 OMR
In stock
1. Unboxing & Inspection
-
Remove the media converter and accessories from the packaging.
-
Ensure all parts are present: MC210CS Media Converter, power adapter, and quick installation guide.
2. Connect the Fiber Optic Cable
-
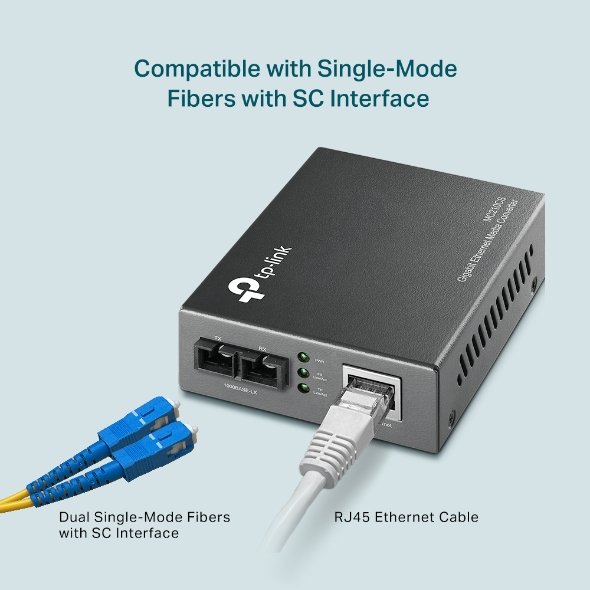
Take the single-mode fiber optic cable and connect one end to the fiber port (SFP) on the MC210CS.
-
Ensure the cable is securely plugged into the converter’s SFP port.
3. Connect the Ethernet Cable
-
Connect one end of an Ethernet cable to the RJ45 port of the media converter.
-
Plug the other end of the Ethernet cable into your network device (e.g., switch, router, or computer).
4. Power On the Device
-
Plug the power adapter into the media converter and connect it to a power outlet.
-
The device should power on automatically once connected to a power source.
5. Verify LED Indicators
-
Check the LED lights on the media converter to ensure proper functioning.
-
Power LED should be solid green when powered on.
-
Link/Act LED should blink or remain solid depending on the connection status.
-
Fiber LED should indicate connectivity when the fiber link is properly established.
-
6. Test the Connection
-
Verify the network connection by checking the device connected to the Ethernet port.
-
You should now have a stable network connection between the fiber optic cable and Ethernet network.
7. Placement & Final Setup
-
Place the media converter in a location that allows for proper cable management.
-
Ensure all cables are securely connected to avoid accidental disconnections.
8. Troubleshooting (if necessary)
-
If no connection is established, check the fiber optic cable for damage or ensure it’s properly plugged into both the media converter and the network device.
-
Double-check the SFP module type for compatibility if the media converter fails to recognize the fiber connection.


There are no reviews yet.