
 New Arrivals
 Offers
 Service & Repair


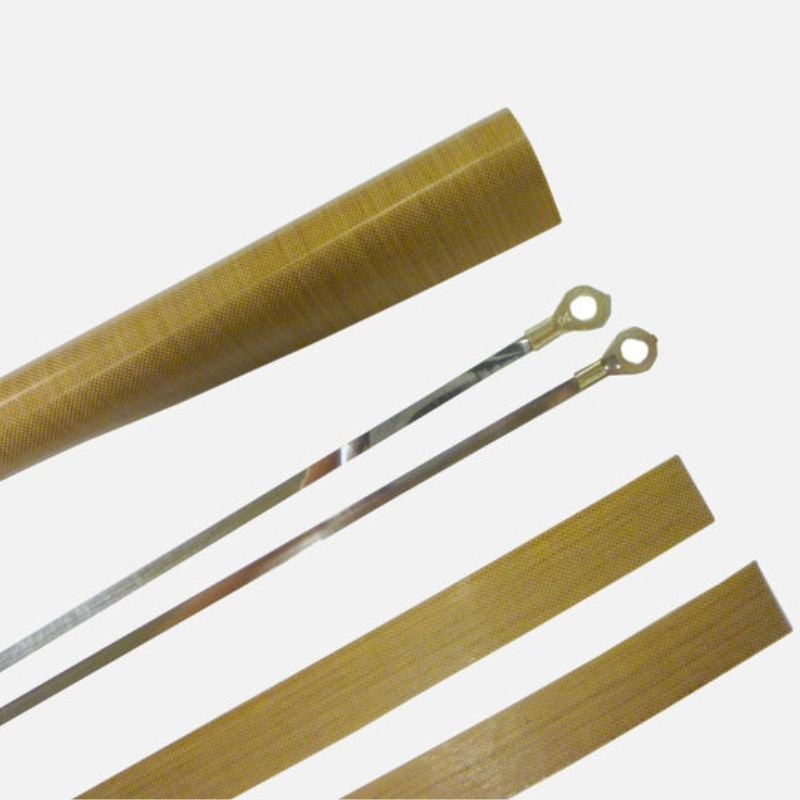
Sealer Machine Blade
SKU: Sealer Machine Blade
Out of stock
The sealer machine blade is a crucial component responsible for cutting and sealing packaging materials. Made from durable materials like stainless steel, it’s designed to slice through various types of packaging films with precision. When the blade becomes dull or damaged, it needs replacement to maintain efficient sealing performance. Replacing the blade involves careful handling and proper installation to ensure seamless operation of the sealer machine.
Out of stock
1. **Turn Off and Unplug the Machine**: Ensure the sealer machine is completely turned off and unplugged from the power source to prevent any accidents during blade replacement.
2. **Access the Blade Compartment**: Locate the compartment or area where the blade is housed on the sealer machine. This may require removing a cover or panel to access.
3. **Remove the Old Blade**: Carefully remove the old blade from its housing. Depending on the design of the machine, you may need to unscrew or release any locking mechanisms holding the blade in place.
4. **Handle with Caution**: Blades can be sharp, so handle the old blade with care to avoid injury. Dispose of it safely according to local regulations.
5. **Prepare the New Blade**: If the replacement blade is not already installed on a blade holder, carefully attach it following the manufacturer’s instructions. Ensure the new blade is compatible with your sealer machine model.
6. **Insert the New Blade**: Place the new blade into the blade compartment, aligning it properly with any guides or grooves. Make sure it is securely seated in its housing.
7. **Secure the Blade**: If necessary, reattach any locking mechanisms or screws to secure the new blade in place. Ensure it is firmly fixed to prevent any movement during operation.
8. **Test the Machine**: After replacing the blade, perform a test run of the sealer machine without sealing any actual packages to ensure the blade operates smoothly and effectively.
9. **Adjust as Needed**: If the blade alignment or tension needs adjustment, refer to the manufacturer’s instructions for guidance on making any necessary tweaks.
10. **Clean Up**: Once you’re satisfied with the blade replacement and machine operation, clean up any debris or dust that may have accumulated during the process.
By following these steps, you can safely and effectively replace the blade on your sealer machine, ensuring optimal performance for sealing packages.
There are no reviews yet.