 New Arrivals
 Offers
 Service & Repair

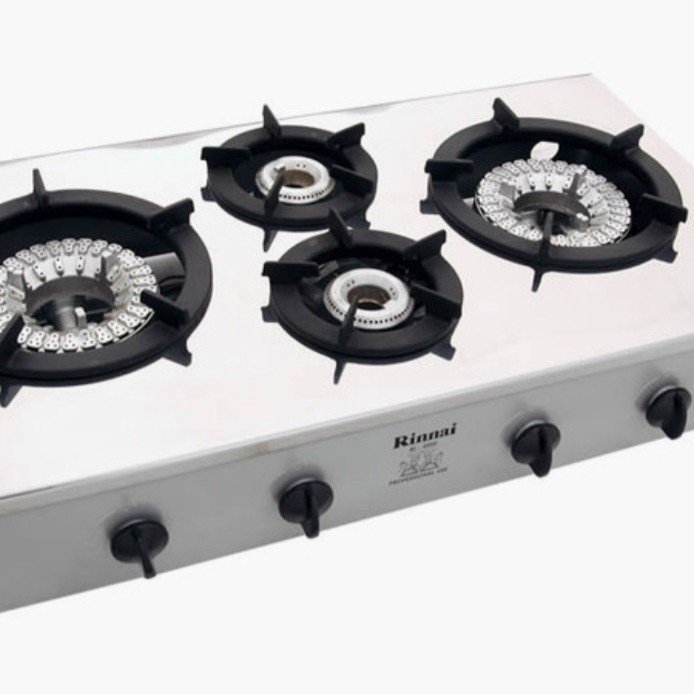
Rinnai RI4RSPN 4 Burner Gas Stove (Indonesia)
SKU: 060207000018
Out of stock
The Rinnai RI4RSPN 4 Burner Gas Stove (Indonesia) is a versatile and efficient cooking appliance designed to meet the demands of modern kitchens. With four high-performance burners, this gas stove offers ample cooking space for preparing multiple dishes simultaneously. Its sleek design and durable construction make it a stylish addition to any kitchen. Equipped with safety features such as flame failure protection, this stove ensures peace of mind during use. Whether you’re cooking for your family or hosting a gathering, the Rinnai RI4RSPN Gas Stove provides convenience and reliability for all your culinary needs.
Out of stock
1. **Unpack and Inspect**: Carefully unpack the Rinnai RI4RSPN Gas Stove, ensuring all components are present and undamaged. Verify that the stove unit, burner grates, gas knobs, and user manual are included.
2. **Prepare the Workspace**: Select a stable, level surface in a well-ventilated area of your kitchen for the stove. Ensure there’s ample space and keep the stove away from flammable materials.
3. **Connect the Gas Supply**: Securely attach one end of the gas hose to the gas inlet on the stove unit. Connect the other end to a compatible gas source, such as a propane tank or natural gas line, using the provided fittings. Test for leaks using soapy water.
4. **Ignite the Burners**: Turn the gas knobs on the stove unit to the “OFF” position. Gradually open the gas valve on the gas source. Use a match or a lighter to ignite the burner flames, holding it near the burners while turning the gas knobs to the desired flame intensity for each burner.
5. **Adjust and Cook**: Once the burner flames are ignited, adjust the flame intensity using the gas knobs to achieve the desired cooking temperature for each burner. Place your cookware on the burner grates and start cooking your desired dishes. After use, turn off the gas supply at the source and allow the stove to cool before cleaning and storing it away.
By following these steps, you’ll be able to safely set up and use the Rinnai RI4RSPN 4 Burner Gas Stove, providing a reliable cooking solution for your kitchen needs.

There are no reviews yet.