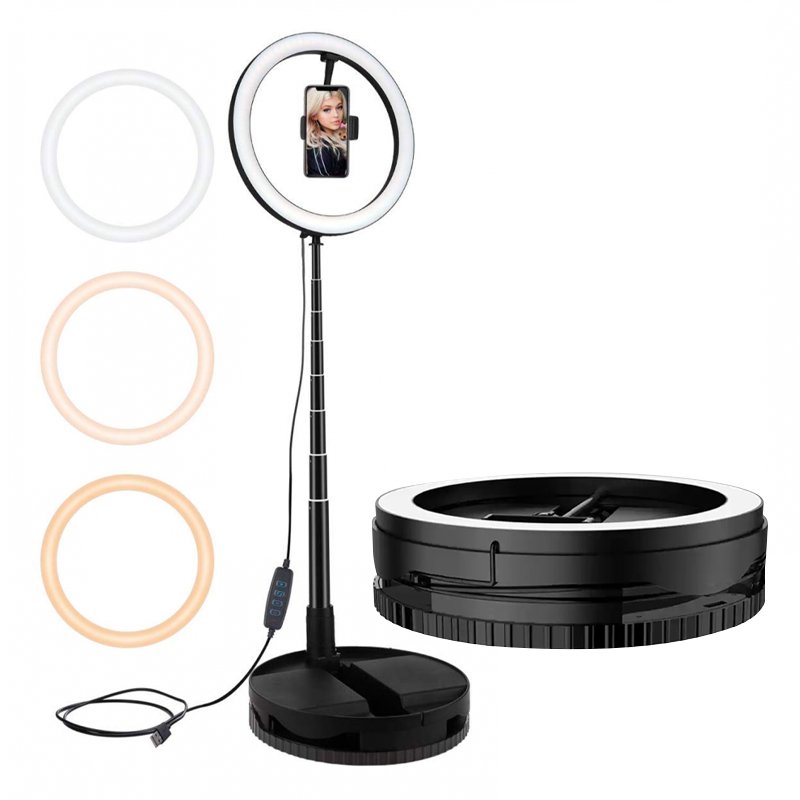
1. **Assemble the Stand**: Begin by assembling the stand according to the provided instructions. Extend the legs and adjust the height to your preference. Ensure the stand is stable and positioned on a flat surface.
2. **Attach the Ring Light**: Fix the G1 Ring Light onto the stand’s mounting bracket. Most ring lights come with a bracket or attachment mechanism for easy installation. Secure the ring light to the bracket firmly.
3. **Adjust the Angle**: Utilize the adjustable arm or head of the stand to position the ring light at the desired angle. Tilt and rotate the light to ensure it illuminates your subject evenly and effectively.
4. **Connect Power**: Plug the power cord of the ring light into a power source. Depending on the model, it may be powered by batteries or a USB cable. Ensure the cord is securely connected and there are no exposed wires.
5. **Turn On the Light**: Activate the ring light using the power switch or button. Adjust the brightness and color temperature settings to suit your needs. You’re now ready to enjoy continuous, replenished illumination during your photography or videography sessions.
Following these steps will help you set up and utilize the RECEIVE LIVE REPLENISHMENT SUPPORT G1 RING LIGHT + STAND effectively for your creative endeavors.
Mix Lite Mouse & Keyboard Converter
Kalimba 17 Keys Finger Piano
SONY PS4 UFC 4 GAME CD
Boya Wireless Microphone By Wm4 Pro
Bm 13k Bee Melodica
Max Bms 135 Boom Mic Stand
BK-20 OUD OIL BUKHOOR BURNER
Boya Larger Diaphragm Condenser Microphone By M1000
Cpt Guitar 3713c
DUDAO AUX 3.5 mm Cable Connector
OMNIKEY 3121 CARD READER
New Arrivals
Offers
Service & Repair


There are no reviews yet.