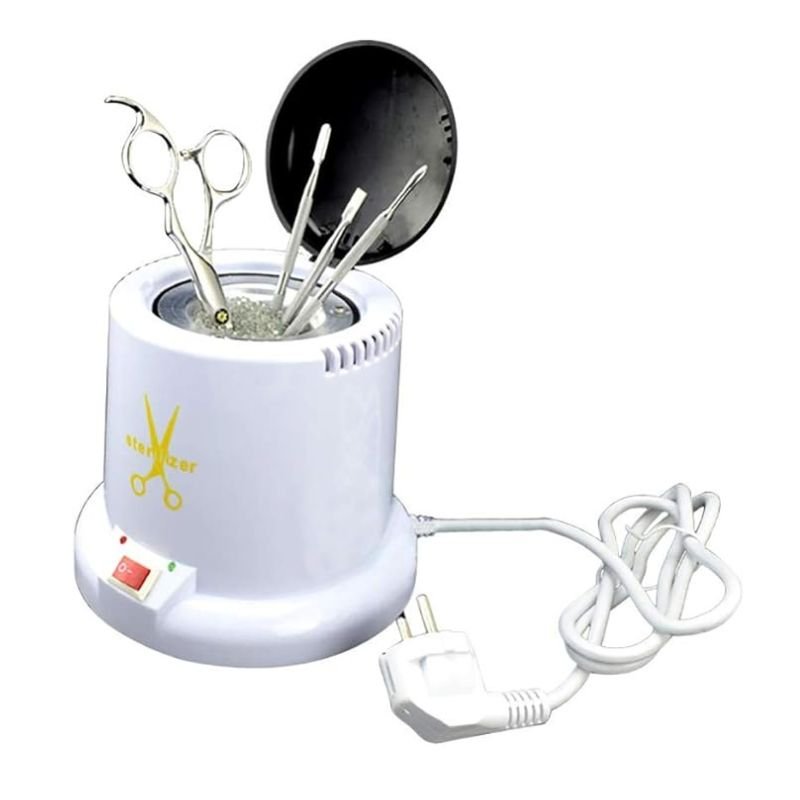
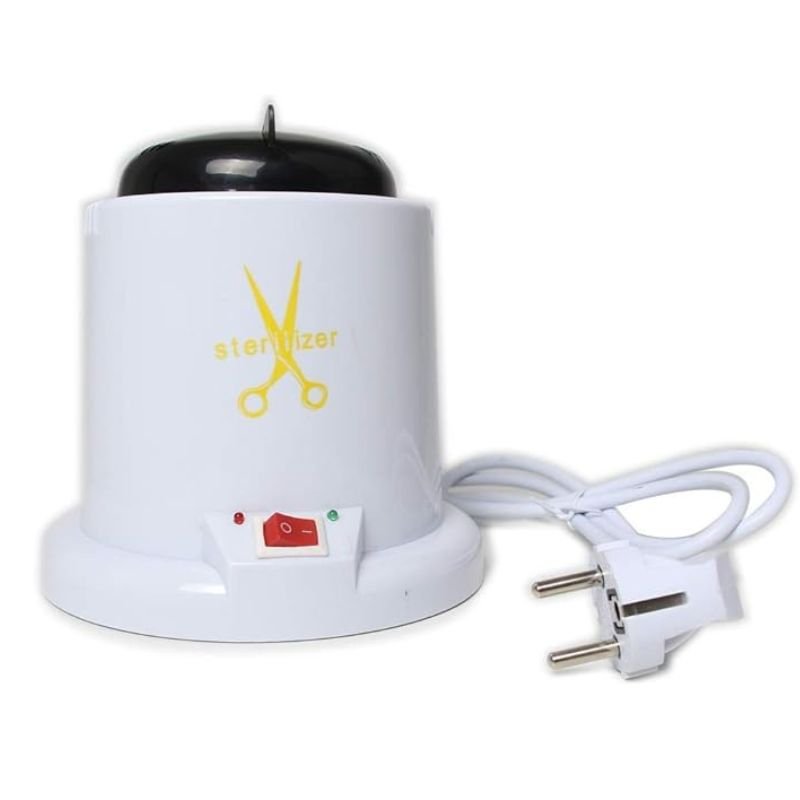
1. **Prepare the Nail Sterilizer**: Ensure that the Nail Sterilizer is placed on a flat, stable surface near your workspace. Make sure it is plugged into a power source and turned on.
2. **Fill with Sterilizing Solution**: Open the lid of the sterilizer pot and pour in the appropriate amount of sterilizing solution. This solution is typically a disinfectant liquid recommended for use with the sterilizer. Be sure to follow the manufacturer’s instructions regarding the correct amount to use.
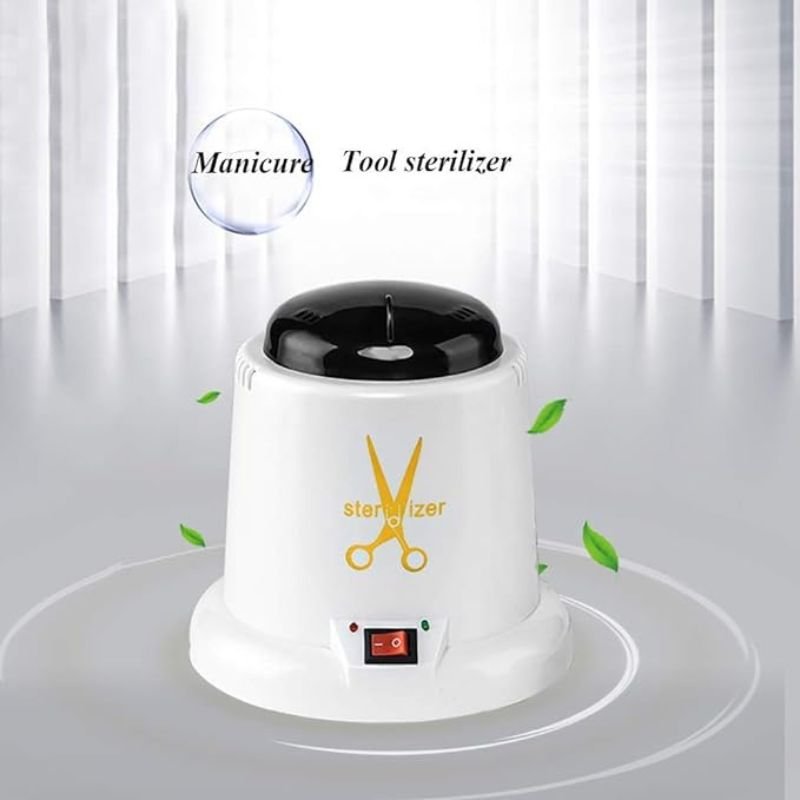
3. **Power On the Sterilizer**: Switch on the Nail Sterilizer using the power button or switch located on the machine. Allow it a few moments to heat up to the desired temperature.
4. **Prepare Tools for Sterilization**: While the sterilizer is heating up, gather the nail art tools you wish to sterilize. This may include nail clippers, nippers, cuticle pushers, or other metal instruments used in manicures or tattoos.
5. **Place Tools in the Sterilizer**: Once the sterilizer has reached the appropriate temperature, carefully place the nail art tools into the sterilizing pot. Make sure they are fully submerged in the sterilizing solution.
6. **Set the Timer**: Most Nail Sterilizers have a built-in timer function. Set the timer for the recommended duration for sterilization. This duration typically ranges from a few minutes to around half an hour, depending on the specific sterilizer and the disinfectant solution used.
7. **Allow Sterilization to Complete**: Leave the tools in the sterilizer for the entire duration of the sterilization cycle. Avoid opening the lid or disturbing the tools while they are being sterilized to maintain effectiveness.
8. **Remove Sterilized Tools**: Once the timer has elapsed, switch off the Nail Sterilizer and carefully remove the sterilized tools from the pot using sterilized tongs or tweezers. Be cautious as the tools may still be hot.
9. **Dry and Store Sterilized Tools**: Place the sterilized tools on a clean, dry surface to cool down and air dry completely. Once dry, store them in a clean, covered container until they are ready to be used.
10. **Clean and Maintain the Sterilizer**: After each use, empty the sterilizing solution from the pot and clean the interior of the sterilizer according to the manufacturer’s instructions. Regular maintenance ensures the longevity and effectiveness of the Nail Sterilizer.
Following these steps will help you effectively sterilize your nail art tools using the Nail Sterilizer, ensuring a clean and hygienic environment for manicures or tattoo procedures.
 WAHL HERO PROFESSIONAL TRIMMER 8991
1 × 32.800 OMR
WAHL HERO PROFESSIONAL TRIMMER 8991
1 × 32.800 OMR  Philips Hair Dryer BHD003/03
1 × 7.900 OMR
Philips Hair Dryer BHD003/03
1 × 7.900 OMR  WAHL 8467 SUPER TAPER
1 × 19.900 OMR
WAHL 8467 SUPER TAPER
1 × 19.900 OMR  WAHL 3615 Cordless Mobile shaver
1 × 9.800 OMR
WAHL 3615 Cordless Mobile shaver
1 × 9.800 OMR  Candc DC C9 Cardioid Microphone
1 × 3.500 OMR
Candc DC C9 Cardioid Microphone
1 × 3.500 OMR  New Arrivals
 Offers
 Service & Repair
There are no reviews yet.