
 New Arrivals
 Offers
 Service & Repair


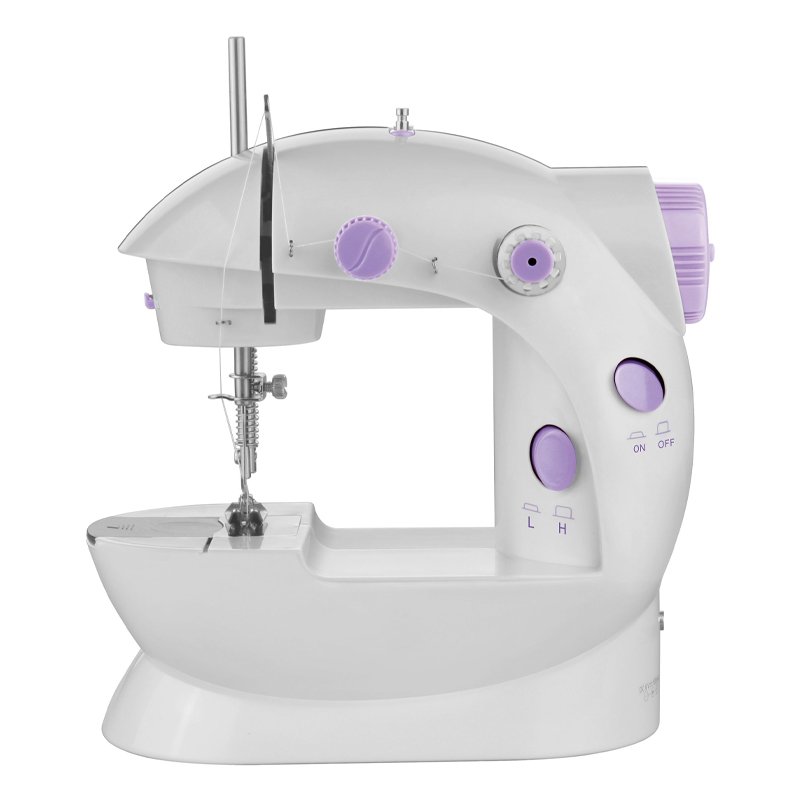
MINI SEWING MACHING SM 202A
SKU: MINI SEWING MACHING SM 202A
Out of stock
COMES PRE THREADED & READY TO USE . SEWS IN DURABLE CHAIN-LOCK STITCH . AC/DC OPERATION . FOOT PEDAL FOR EASY CONTROL . TWO SPEED OPERATION . THREAD CUTTER . BUILT IN LIGHT. BUILT IN BOBBIN WINDING FACILITY. EASY REPLACEMENT OF BOTTOM BOBBIN. TWO SPEED CONTROL. THREAD CUTTER. BUILT IN LIGHT
Out of stock
1. **Setup**:
– Place the Mini Sewing Machine SM 202A on a stable surface like a table.
– Ensure it’s securely positioned and that there’s adequate lighting and space to work comfortably.
2. **Threading**:
– Thread the machine following the instructions in the manual.
– Typically, this involves placing the spool of thread on the spindle, guiding the thread through the machine’s threading path, and finally through the needle.
3. **Fabric Preparation**:
– Prepare the fabric you want to sew by cutting it to size and aligning any seams or edges that need to be joined.
4. **Sewing**:
– Place the fabric under the presser foot and lower the foot to hold it in place.
– Using the handwheel or the machine’s power switch, lower the needle into the fabric at the starting point of your seam.
– Press the foot pedal or the sewing button to start stitching, guiding the fabric along the desired seam line.
– Keep a steady pace, ensuring the fabric feeds smoothly under the needle.
– Lift the needle and presser foot when you reach the end of your seam.
5. **Finishing**:
– Cut the thread, leaving a tail for tying off or securing.
– If necessary, trim any excess fabric and finish the edges with a serger or a zigzag stitch to prevent fraying.
With these five steps, you should be able to effectively use the Mini Sewing Machine SM 202A for your sewing projects. Remember to consult the manual for specific instructions and troubleshooting tips.
There are no reviews yet.