 New Arrivals
 Offers
 Service & Repair
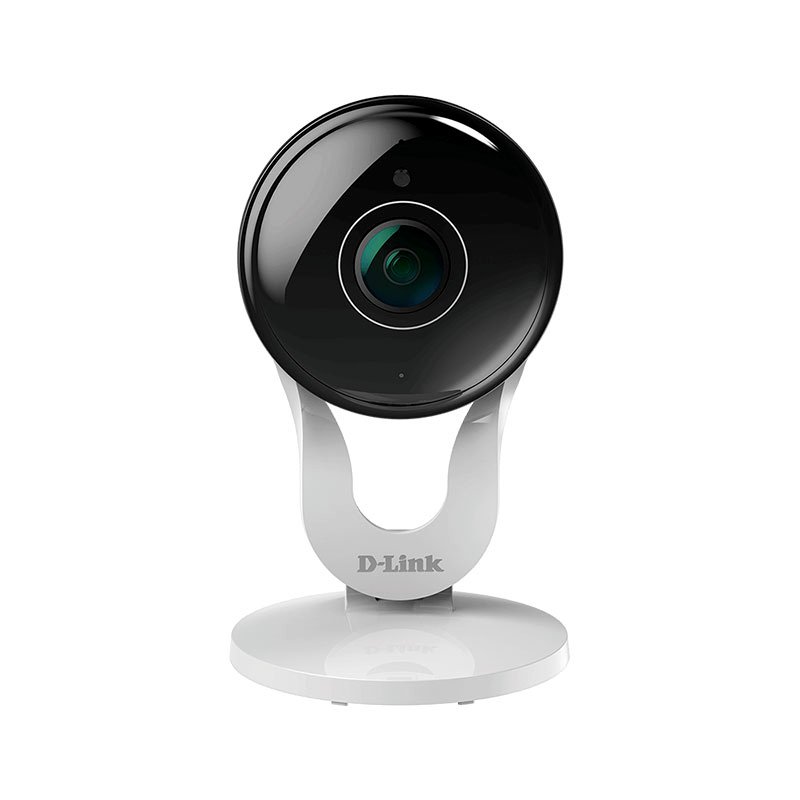
D-link Ip Wifi Camera Dcs 8300Lh Hd
SKU: D-Link DCS-8300LH HD Camera
In stock
1080p Full HD resolution with 137° wide angle view
2-way audio
5m night vision
Cloud-based or local video recording
12.800 OMR
In stock
1. **Unboxing and Inspection**: Start by unboxing the D-Link DCS-8300LH HD Wi-Fi Camera and carefully inspecting all included components. Ensure that the camera, power adapter, mounting hardware, and documentation are present and in good condition.
2. **Placement and Power**: Choose a suitable location to install the camera, considering the area you want to monitor and the Wi-Fi signal strength. Connect the power adapter to the camera and plug it into a nearby power outlet. Make sure the camera is positioned securely and has a clear view of the desired area.
3. **Connection to Wi-Fi Network**: Download the mydlink app on your smartphone or tablet and create a mydlink account if you haven’t already. Follow the on-screen instructions in the app to add the D-Link DCS-8300LH camera to your account and connect it to your Wi-Fi network.
4. **Camera Setup and Configuration**: Once the camera is connected to your Wi-Fi network, use the mydlink app to configure its settings. This includes adjusting image quality, enabling motion detection, setting up activity zones, and scheduling recording times. Ensure that the camera is configured to your preferences for optimal performance.
5. **Testing and Monitoring**: After completing setup and configuration, test the camera’s functionality by accessing the live video feed through the mydlink app. Monitor the camera’s view in real-time and ensure that it provides clear and crisp HD video footage. Adjust settings as needed to optimize performance and ensure reliable surveillance.


There are no reviews yet.