
-
×
 Cpt Guitar 3713c
1 × 3.800 OMR
Cpt Guitar 3713c
1 × 3.800 OMR
Subtotal: 3.800 OMR
SKU: 1402000023
Out of stock
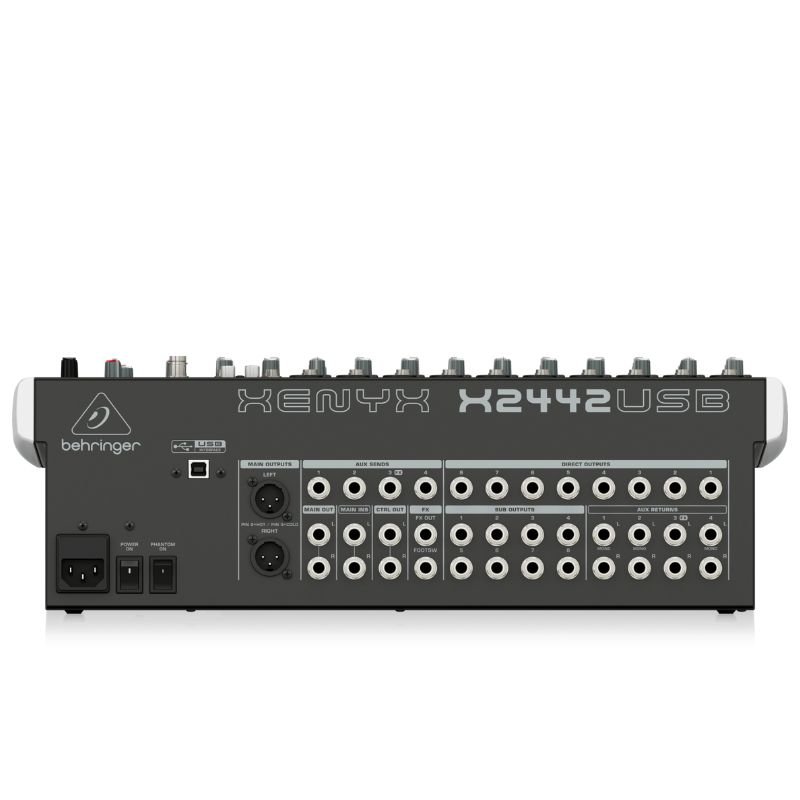
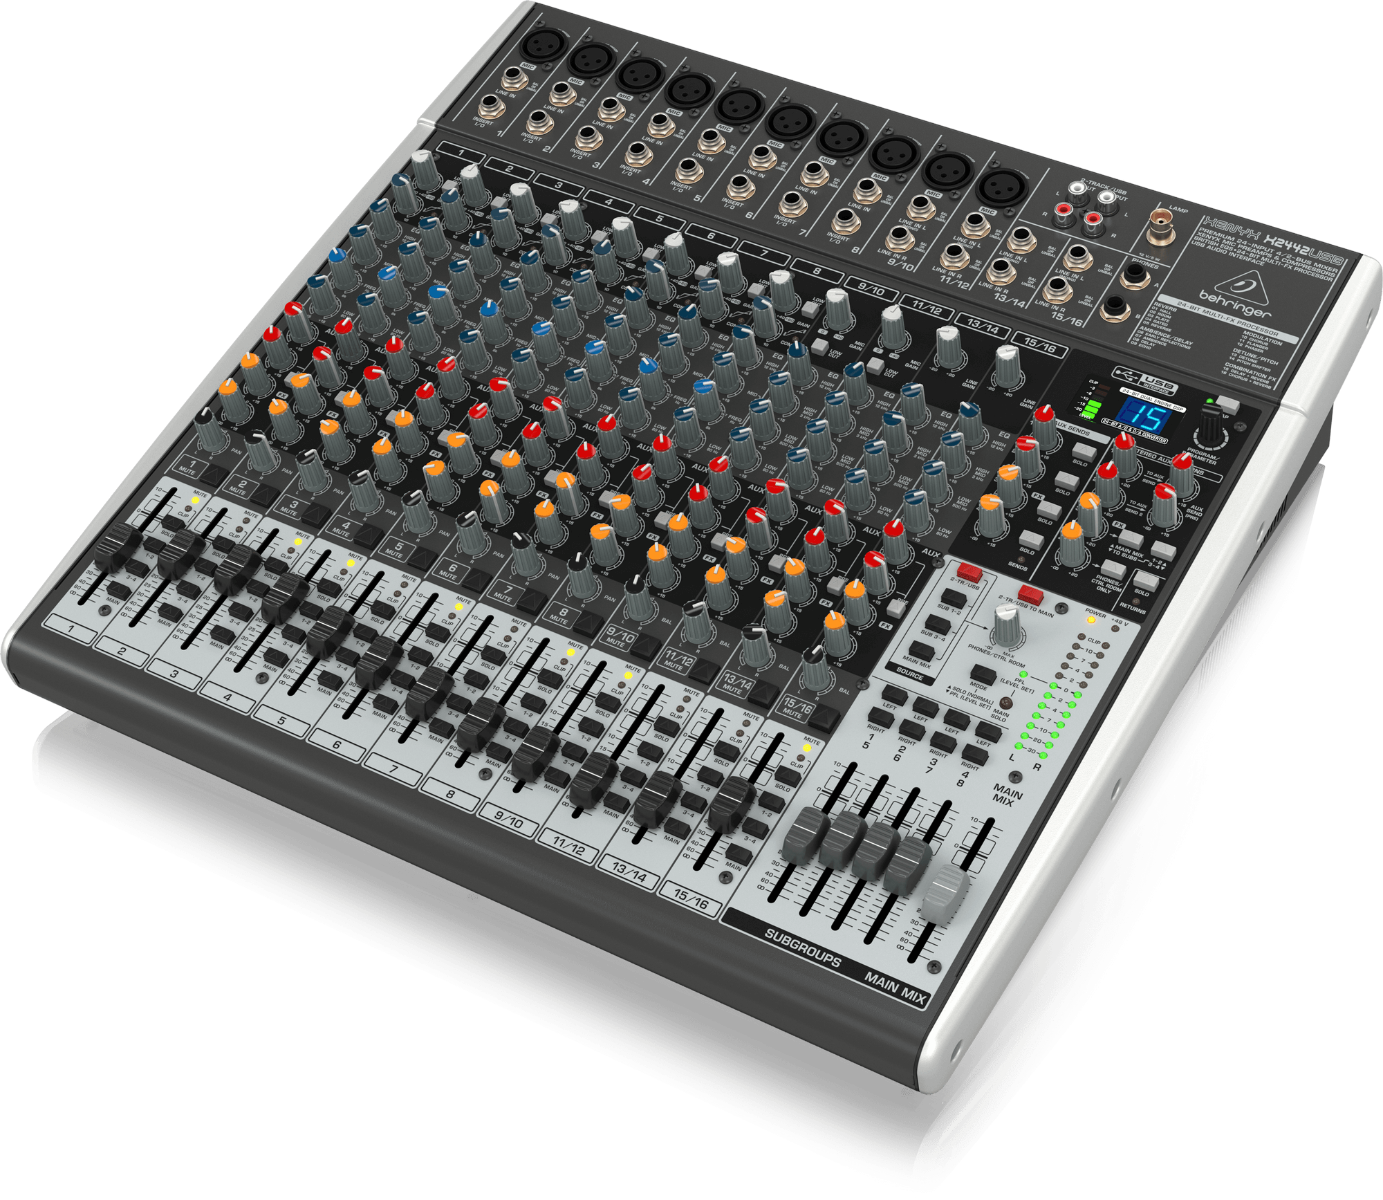
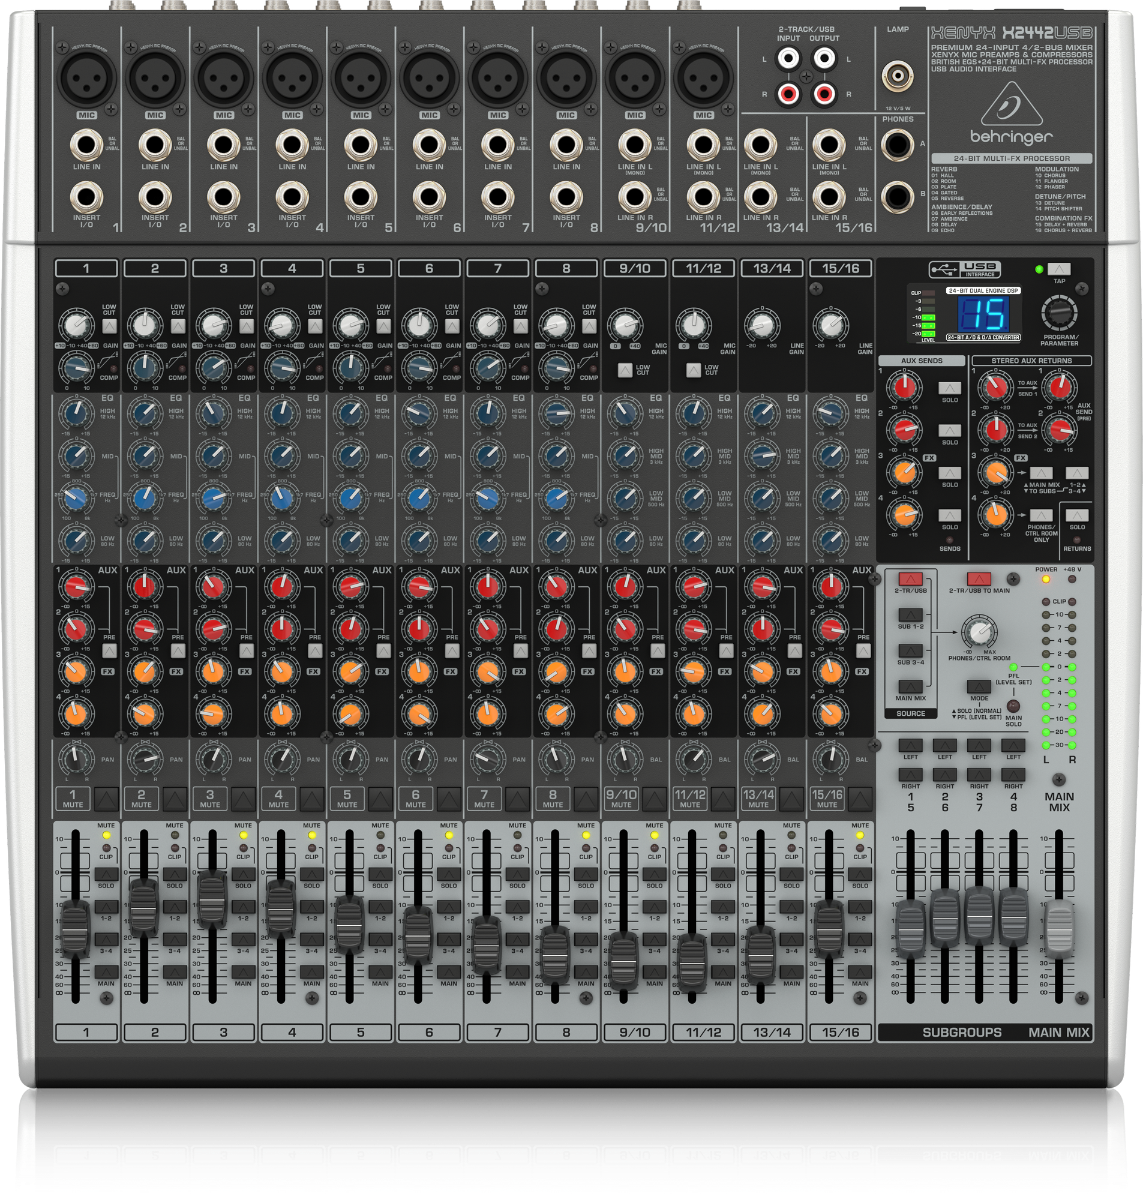
The Behringer Xenyx X2442USB Mixer is a versatile audio mixing console equipped with 24 input channels, including 10 Xenyx mic preamps, for superior sound quality and flexibility. It features built-in FX processors with studio-grade presets, enabling users to add professional effects like reverb and delay to their audio. With USB connectivity, it seamlessly integrates with computers for recording and playback purposes, making it an ideal choice for both live sound reinforcement and studio applications. Its intuitive interface and robust construction make it a reliable companion for musicians, podcasters, and sound engineers alike.
Out of stock
1. **Power On and Connection Setup**: Begin by plugging in the Behringer Xenyx X2442USB Mixer to a power source. Connect your audio sources, such as microphones, instruments, or playback devices, to the mixer’s input channels using XLR or 1/4″ cables. Adjust the gain controls for each channel to set appropriate input levels without causing distortion.
2. **Equalization and Effects**: Utilize the mixer’s EQ knobs to adjust the equalization for each channel, tailoring the sound to your preferences or the requirements of your performance. Experiment with the built-in FX processors, which offer a range of studio-quality effects like reverb, chorus, and delay. Select and adjust effects using the dedicated controls to enhance your audio.
3. **Mixing and Routing**: Use the faders and pan controls to mix the audio signals from different channels. Adjust the levels and panning to achieve a balanced and coherent sound mix. The Xenyx X2442USB Mixer also features subgroup outputs and main mix outputs, allowing you to route signals to various destinations or speakers.
4. **Monitoring and Recording**: Connect headphones to the mixer’s headphone jack for monitoring purposes. Utilize the control room outputs to connect studio monitors or speakers for monitoring the mix. If you wish to record your performance, connect the mixer to a computer via USB and use recording software to capture the audio directly to your computer.
5. **Performance and Fine-Tuning**: Throughout your performance or recording session, continuously monitor the sound through headphones or speakers and make adjustments as needed. Tweak the EQ settings, effects, and channel levels to ensure optimal sound quality and balance throughout the session. Leverage the Xenyx X2442USB Mixer’s user-friendly interface and robust features to fine-tune your audio to perfection.
 New Arrivals
 Offers
 Service & Repair


There are no reviews yet.