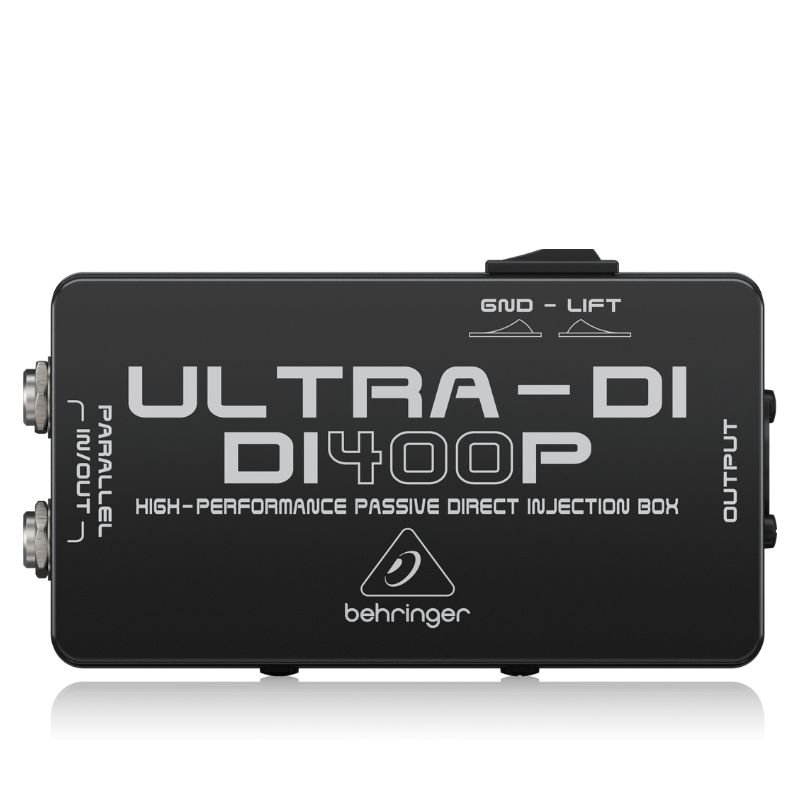
1. **Connect your audio source**: Begin by connecting your audio source, such as a musical instrument or a mixer output, to the input of the DI 400P. You can do this using a standard 1/4-inch instrument cable or XLR cable depending on your audio source’s output.
2. **Adjust input settings**: Once your audio source is connected, adjust the input level on the DI 400P according to the signal strength of your audio source. The DI 400P features input level controls that allow you to optimize the signal level for the best performance.
3. **Connect to the destination device**: Next, connect the output of the DI 400P to the destination device, such as a mixer, audio interface, or PA system. You can do this using either a balanced XLR cable or an unbalanced 1/4-inch cable, depending on the input connections of your destination device.
4. **Ground lift (if needed)**: If you encounter any ground loop issues or unwanted noise, you can engage the ground lift switch on the DI 400P to help eliminate the problem. This switch disconnects the ground connection between the input and output of the DI box, helping to break ground loops and reduce noise.
5. **Check signal and adjust as needed**: Finally, check the signal on your destination device and adjust the output level on the DI 400P if necessary to ensure a clean and balanced signal. You can use the output level controls on the DI 400P to adjust the signal level to match the input requirements of your destination device.
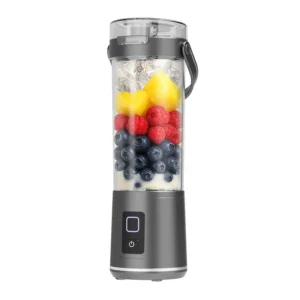 Denx Wireless Portable Juicer DX3227
3 × 4.900 OMR
Denx Wireless Portable Juicer DX3227
3 × 4.900 OMR  WD My Passport 4TB Hard Disk
1 × 49.900 OMR
WD My Passport 4TB Hard Disk
1 × 49.900 OMR  Washburn Oss Ou2 Ukulele
2 × 35.000 OMR
Washburn Oss Ou2 Ukulele
2 × 35.000 OMR  New Arrivals
 Offers
 Service & Repair

There are no reviews yet.