Apple AirPods Pro Lightning (2nd Generation)
1. Unboxing: When you first receive your Apple AirPods Pro Lightning (2nd Generation), open the box carefully. Inside, you’ll find the AirPods Pro nestled in their charging case, along with a Lightning to USB-C cable for charging.
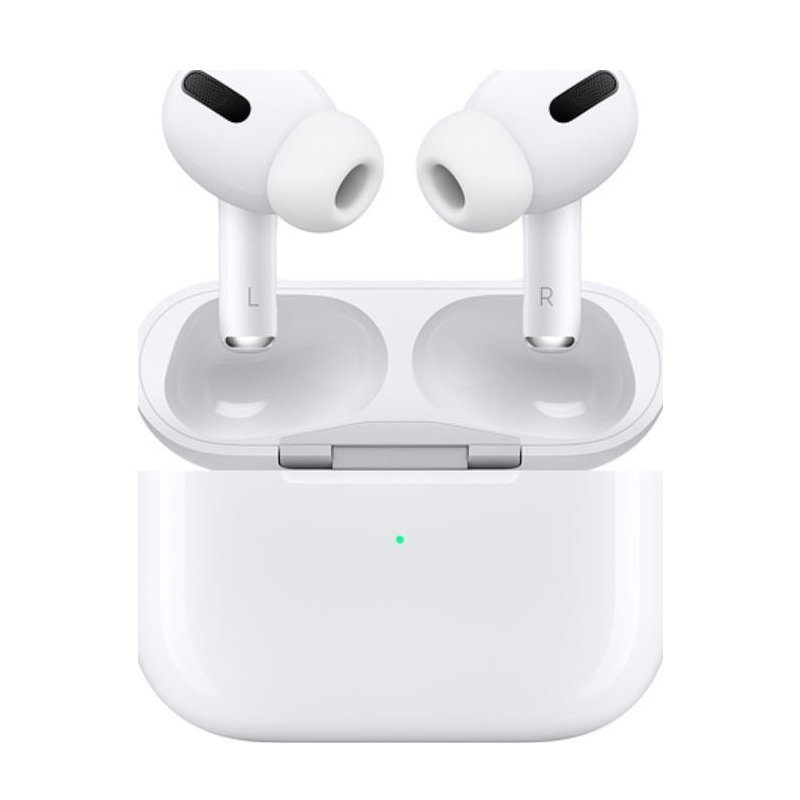
2. Charging: Before you can start using your AirPods Pro, you’ll need to charge them. Connect the Lightning end of the charging cable to the Lightning port on the bottom of the charging case. Then, plug the USB-C end into a power source, such as a wall adapter or a USB port on your computer. The status light on the front of the case will indicate when the AirPods Pro are charging and when they’re fully charged.
3. Pairing: Once your AirPods Pro are charged, you can pair them with your device. If you’re using an iPhone or iPad, simply open the case near your device and follow the on-screen instructions. If you’re using a Mac, go to System Preferences > Bluetooth and select your AirPods Pro from the list of available devices. For other devices, consult the user manual for pairing instructions.
4. Customization: After pairing your AirPods Pro with your device, you can customize their settings to suit your preferences. This includes adjusting the controls for features like Active Noise Cancellation and Transparency mode, as well as configuring how the AirPods Pro respond to taps and squeezes.
5. Enjoyment: With your AirPods Pro set up and customized, you’re ready to enjoy your favorite music, podcasts, and more. Simply insert the AirPods Pro into your ears and start listening. Thanks to features like Active Noise Cancellation and Adaptive EQ, you’ll experience immersive sound quality wherever you go. And with the convenience of wireless charging and hands-free Siri, your AirPods Pro Lightning (2nd Generation) will quickly become an essential part of your daily routine.
 Tovaste Mol10 10m (Xlr+Xlr) Mic Cable
1 × 9.500 OMR
Tovaste Mol10 10m (Xlr+Xlr) Mic Cable
1 × 9.500 OMR  OTVO P4 USB DATA CABLE (For P4 Host & Handle)
1 × 1.900 OMR
OTVO P4 USB DATA CABLE (For P4 Host & Handle)
1 × 1.900 OMR  DOBE PS4 TP4 016 Mobile Phone CLAMP
1 × 1.900 OMR
DOBE PS4 TP4 016 Mobile Phone CLAMP
1 × 1.900 OMR  L-1 Professional Streaming Player Stand
1 × 13.900 OMR
L-1 Professional Streaming Player Stand
1 × 13.900 OMR  New Arrivals
 Offers
 Service & Repair
There are no reviews yet.