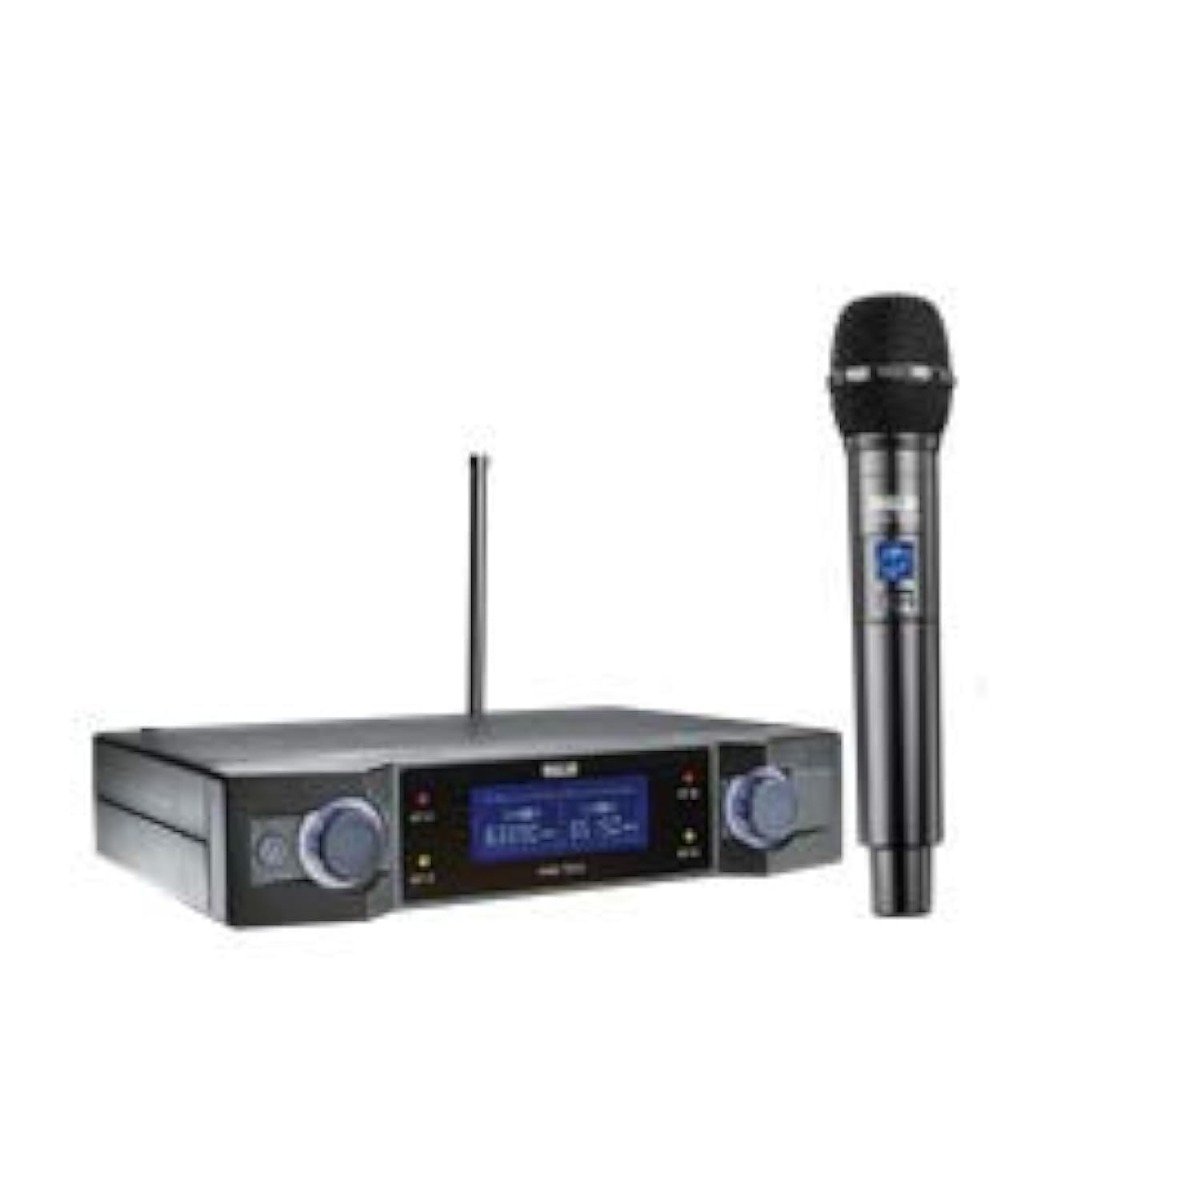
Step 1: Receiver Setup – Connect the receiver unit of the Ahuja AWM700UH to a power source using the provided power adapter. Ensure the receiver is placed on a stable surface within the range of the transmitter.
Step 2: Antenna Adjustment – Extend the receiver’s antennas fully and position them vertically for optimal signal reception. This helps in maximizing the wireless range and minimizing signal interference.
Step 3: Transmitter Preparation – Install fresh batteries (if required) in the microphone transmitter. Turn on both the transmitter and the receiver unit. Ensure they are set to the same frequency channel to establish a reliable wireless connection.
Step 4: Pairing Process – Initiate the pairing process between the microphone transmitter and the receiver unit by pressing the designated sync or pairing button on both devices. Follow any on-screen instructions or LED indicators to confirm successful pairing.
Step 5: Sound Check – Test the wireless microphone system by speaking into the microphone and monitoring the audio output through your sound system or recording device. Adjust the microphone’s volume levels and any equalization settings as needed to achieve the desired sound quality.
Following these steps will ensure that your Ahuja AWM700UH Wireless Microphone is correctly set up and ready to deliver clear and reliable wireless audio for your performances, presentations, or any other application where wireless microphone functionality is required.
 Boya By Wm8 Pro K2 Uhf Dual Channel Wireless Microphone
1 × 76.800 OMR
Boya By Wm8 Pro K2 Uhf Dual Channel Wireless Microphone
1 × 76.800 OMR  Boya Wireless Microphone By Wm4 Pro
1 × 47.900 OMR
Boya Wireless Microphone By Wm4 Pro
1 × 47.900 OMR  Lavalier Microphone Lj02
1 × 1.800 OMR
Lavalier Microphone Lj02
1 × 1.800 OMR  New Arrivals
 Offers
 Service & Repair


There are no reviews yet.