 New Arrivals
 Offers
 Service & Repair
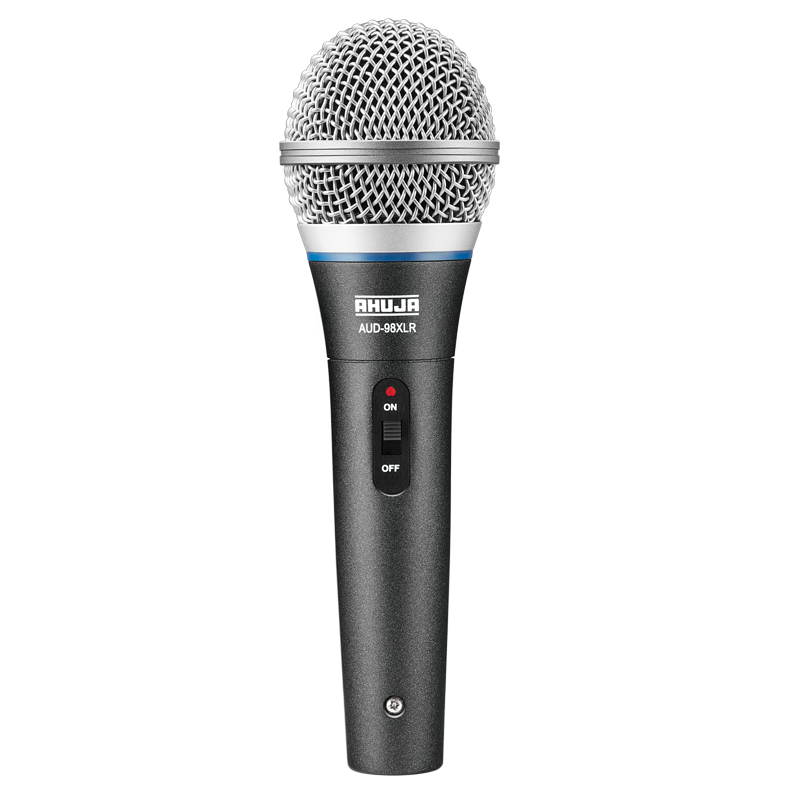
Ahuja Aud 98xlr Microphone
SKU: 0141005000059
In stock
- High output Neodymium cartridge. Excellent intelligibility & wide frequency response. Attractive appearance.
- Supplied with quick detachable holder with 3-pin professional XLR connector & 6 mtrs. twin core shielded low noise cable.
12.400 OMR
In stock
Step 1: Unboxing – Carefully remove the Ahuja AUD 98XLR microphone from its packaging, ensuring you have all the components including the microphone itself, the XLR cable, and any accompanying accessories or manuals.
Step 2: XLR Cable Connection – Attach one end of the XLR cable to the microphone’s XLR output connector. Make sure it is securely plugged in to ensure proper audio transmission.
Step 3: Microphone Stand Mounting – If you’re using a microphone stand, attach the microphone to the stand’s microphone holder. Ensure it is securely fastened to prevent any accidental falls during use.
Step 4: Positioning – Adjust the microphone’s position on the stand or in your hand to ensure it is positioned correctly for optimal sound pickup. Aim the microphone toward the sound source, whether it’s your mouth for vocals or an instrument for recording.
Step 5: Testing and Adjustments – Test the microphone by speaking into it or playing your instrument and monitoring the audio output through your recording device or sound system. Adjust the microphone’s position and any gain or volume settings as needed to achieve the desired sound quality and volume level.
Following these steps will ensure that your Ahuja AUD 98XLR Microphone is correctly set up and ready to capture clear and high-quality audio for your performances, recordings, or any other application where professional-grade sound reproduction is required.

There are no reviews yet.