-
×
 OMNIKEY 3121 CARD READER
1 × 7.900 OMR
OMNIKEY 3121 CARD READER
1 × 7.900 OMR -
×
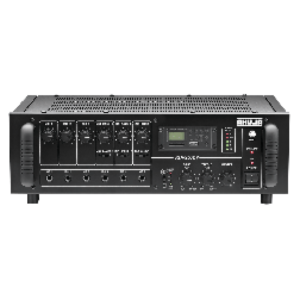 Ahuja Ssa 250dp Amplifier
1 × 142.000 OMR
Ahuja Ssa 250dp Amplifier
1 × 142.000 OMR -
×
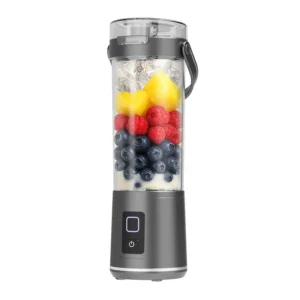 Denx Wireless Portable Juicer DX3227
1 × 4.900 OMR
Denx Wireless Portable Juicer DX3227
1 × 4.900 OMR -
×
 Kalimba 17 Keys Finger Piano
1 × 13.800 OMR
Kalimba 17 Keys Finger Piano
1 × 13.800 OMR -
×
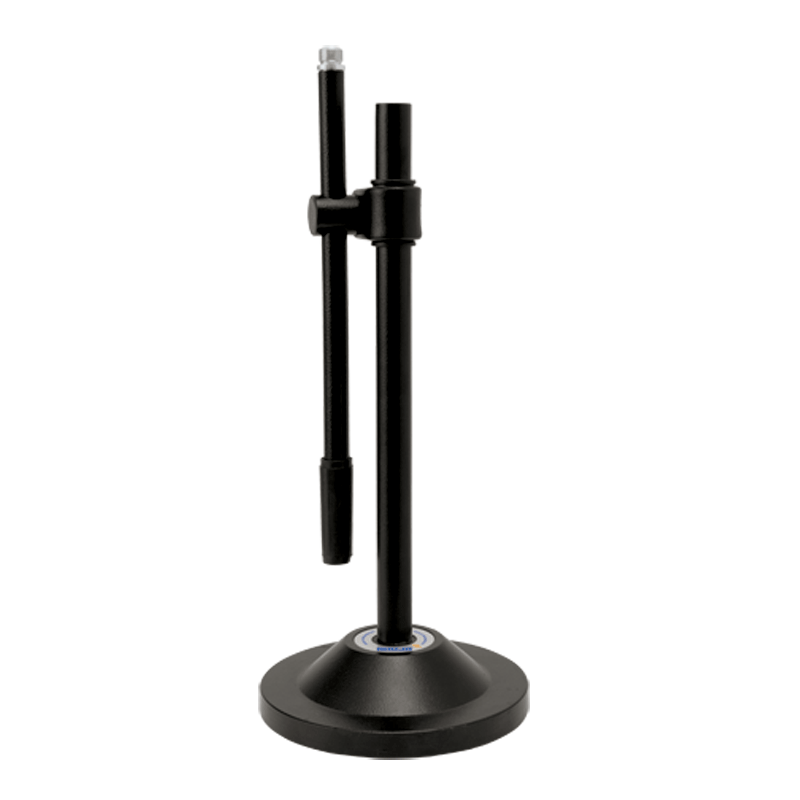
 Max Bms 135 Boom Mic Stand
1 × 9.500 OMR
Max Bms 135 Boom Mic Stand
1 × 9.500 OMR -
×
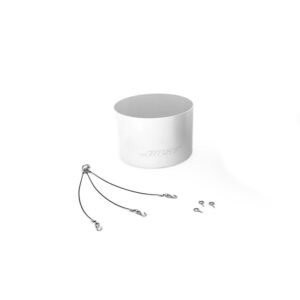 Bose Ds16f Pendent Kit
1 × 9.000 OMR
Bose Ds16f Pendent Kit
1 × 9.000 OMR -
×
 Bbt Hair Clipper Rfcd 9008
1 × 5.900 OMR
Bbt Hair Clipper Rfcd 9008
1 × 5.900 OMR -
×
 3713c Music Guitar
1 × 5.800 OMR
3713c Music Guitar
1 × 5.800 OMR -
×
 Tolaye Ks06 Keyboard Stand
1 × 14.000 OMR
Tolaye Ks06 Keyboard Stand
1 × 14.000 OMR -
×
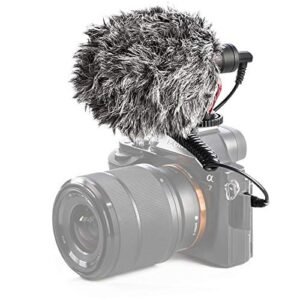 Candc DC C9 Cardioid Microphone
1 × 3.500 OMR
Candc DC C9 Cardioid Microphone
1 × 3.500 OMR -
×
 Washburn Oss Ou2 Ukulele
1 × 35.000 OMR
Washburn Oss Ou2 Ukulele
1 × 35.000 OMR
Subtotal: 251.300 OMR
 New Arrivals
 Offers
 Service & Repair


There are no reviews yet.