 New Arrivals
 Offers
 Service & Repair
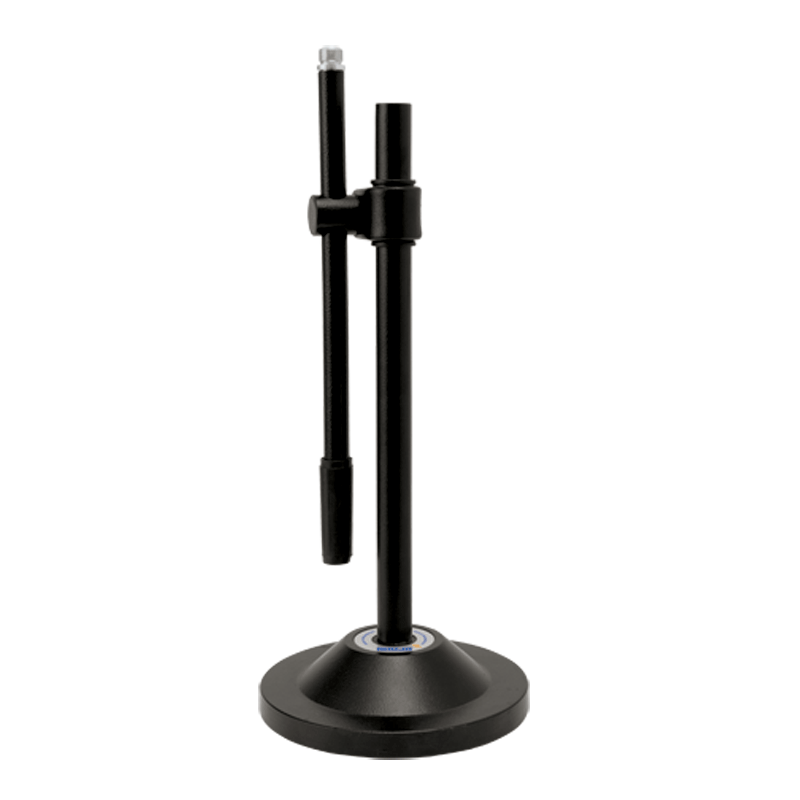
Ahuja Ats 5 Mic Stand
SKU: 0141005000075
In stock
- AHUJA Microphone stand employ sturdy mechanism ensuring trouble free movement and positioning of microphones. These stands are functional and resistant to rust, due to superior quality of chrome plating/powder coating. Ahuja stand with 5/8” 27 TPI to match all AHUJA MICROPHONES.
13.000 OMR
In stock
Step 1: Unboxing – Gently remove all components of the Ahuja ATS200 microphone stand from the packaging, ensuring you have the base, adjustable rod, microphone holder, and any accompanying screws or attachments.
Step 2: Base Assembly – Place the sturdy base of the microphone stand on a flat and stable surface. Ensure it sits securely to provide a stable foundation for the stand.
Step 3: Adjust Height – Extend the adjustable rod to your preferred height by loosening the tightening mechanism located on the side of the stand. Adjust the height to suit your needs, whether you’re standing or sitting during use.
Step 4: Attach Microphone Holder – Depending on the design of the microphone holder provided, either screw or snap it onto the top of the adjustable rod. Ensure it is firmly attached and positioned correctly to securely hold your microphone.
Step 5: Secure Microphone – Carefully place your microphone into the holder, ensuring it is positioned correctly and securely held in place. Adjust any angle or tilt settings on the microphone holder as needed to achieve the desired microphone position for optimal performance.
Once assembled, your Ahuja ATS200 microphone stand is ready to be used for recording, broadcasting, or live performances. Always double-check the stability and adjustability of the stand before use, and handle both the microphone and stand with care to prevent any damage.
Based on 0 reviews
Be the first to review “Ahuja Ats 5 Mic Stand”
Related products
-
Microphones, Music
Boya Wireless Microphone By Wm4 Pro
*Super clear recording sound *compatible with smartphones,DSLR cameras,consumer camcorders,PCs etc *lighweight and compact for easy carrying *omnidirectional lavalier microphone *hard case included *standard camera shoe mout and clip included *operation range up to 50cm *power supplied by two AAA batteries for both transmitter and receiver
SKU: BOYA WIRELESS MICROPHONE BY WM4 PRO


There are no reviews yet.