Step 1: Unboxing – Carefully remove the Ahuja AFS201 microphone stand from its packaging, ensuring you have all the components including the base, adjustable rod, microphone holder, and any accompanying screws or attachments.
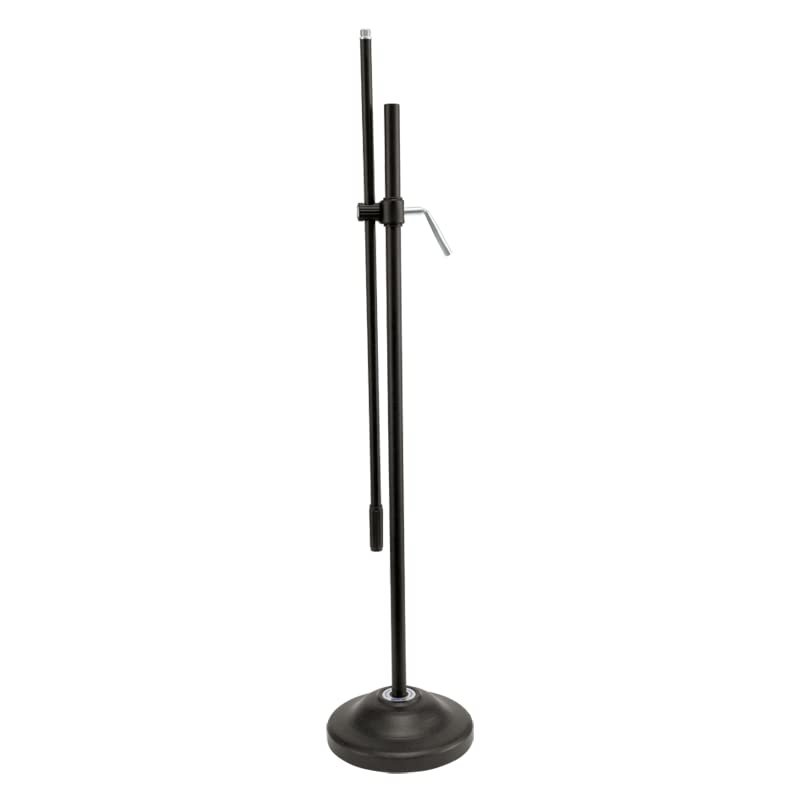
Step 2: Base Assembly – Place the base of the microphone stand on a stable surface. Insert the adjustable rod into the designated slot on the base, ensuring it fits securely.
Step 3: Adjust Height – Extend the adjustable rod to your desired height by loosening the tightening knobs or screws located on the side of the stand. Once you’ve achieved the desired height, tighten the knobs or screws to secure the rod in place.
Step 4: Attach Microphone Holder – Depending on the type of microphone holder provided, either screw or snap it onto the top of the adjustable rod. Make sure it is securely attached and positioned correctly to hold your microphone.
Step 5: Secure Microphone – Carefully place your microphone into the holder, ensuring it is properly positioned and securely held in place. Adjust any angle or tilt settings on the microphone holder as needed to achieve the desired microphone position.
Once assembled, your Ahuja AFS201 microphone stand is ready to use for recording or performing. Make sure to test the stability and adjustability of the stand before use, and always handle your microphone and stand with care to avoid damage.

 Max 7300 Conference System
1 × 50.000 OMR
 Boya By Wm4 Pro K3 2.4ghz Wireless Microphone System
1 × 49.900 OMR
 Fantech Fb 301 Turbine Addressable Rgb Pc Fan
1 × 6.950 OMR
 Bm 13k Bee Melodica
2 × 5.900 OMR
 USB DATA CABLE PS4
1 × 1.900 OMR
 Boya By Wm8 Pro K2 Uhf Dual Channel Wireless Microphone
1 × 76.800 OMR
 New Arrivals
 Offers
 Service & Repair



There are no reviews yet.