
 New Arrivals
 Offers
 Service & Repair


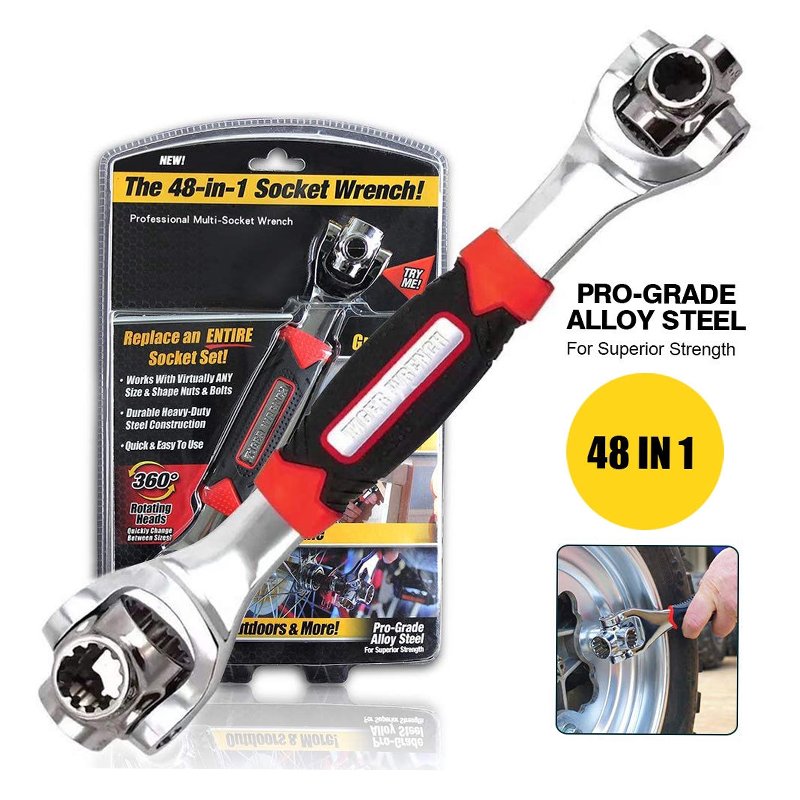
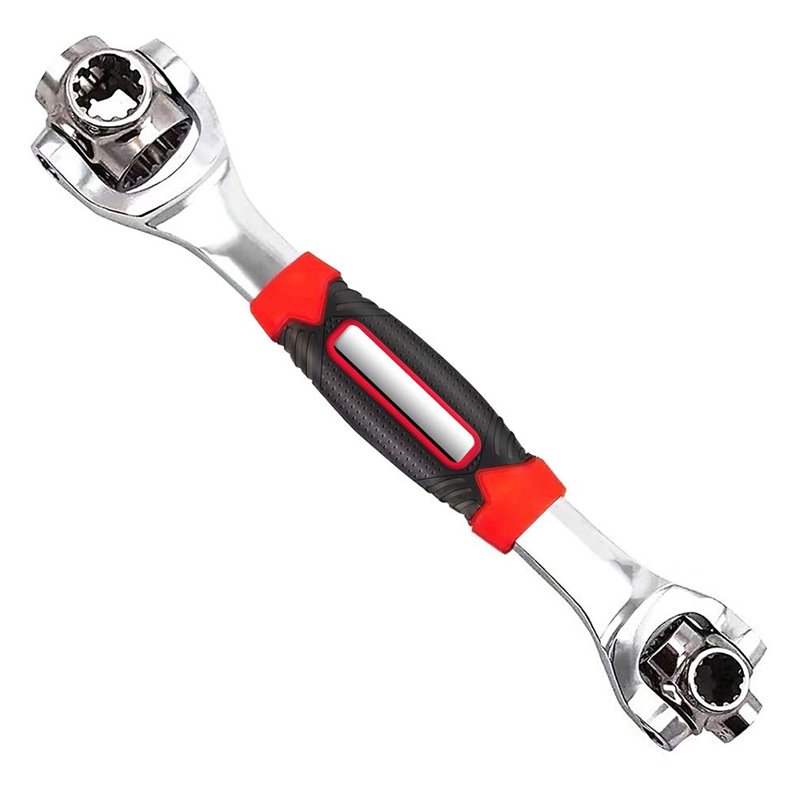
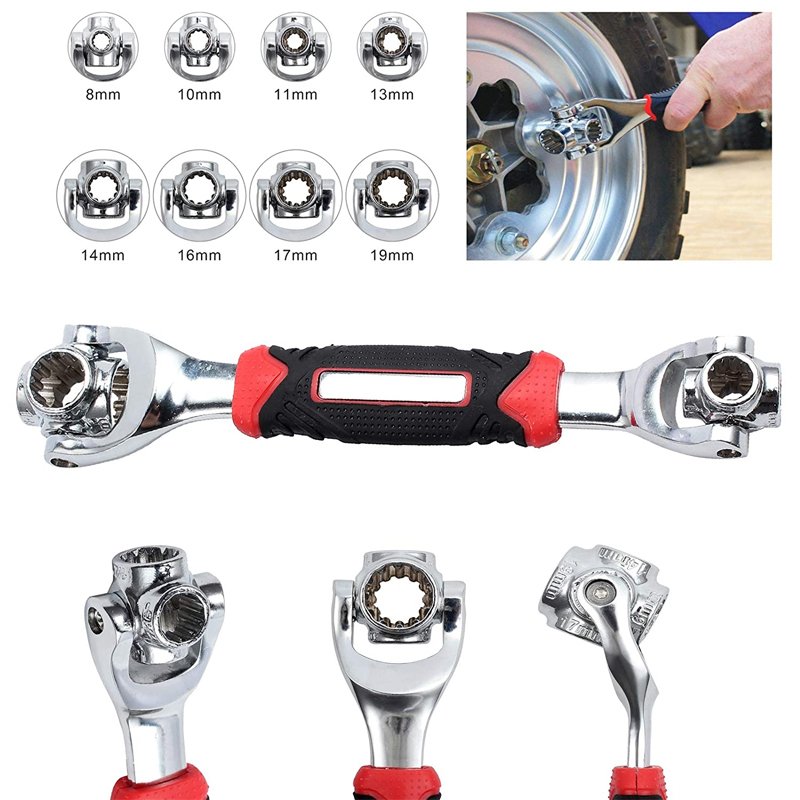
48 IN 1 SOCKET WRENCH
SKU: 48 IN 1 SOCKET WRENCH
Out of stock
360 degree rotating heads
quickly change sizes
durable heavy duty.
Work with any size & shape nuts & bults
great for auto, home ,outdoors & more!
Out of stock
1. **Select Socket Head**: Identify the specific socket head size needed for your task. The 48 in 1 socket wrench typically comes with a variety of interchangeable socket heads in different sizes. Choose the appropriate socket head that matches the size of the nut or bolt you intend to tighten or loosen.
2. **Attach Socket Head**: Insert the selected socket head into the socket wrench’s drive mechanism. Ensure it fits securely and engages properly with the wrench. Most socket wrenches have a quick-release mechanism for easy attachment and removal of socket heads.
3. **Adjust Handle* Position*: Adjust the handle position of the socket wrench to either tighten or loosen the nut or bolt. For tightening, position the handle so that you can apply clockwise torque. For loosening, position the handle to allow counterclockwise torque.
4. **Apply Torque**: Hold the socket wrench firmly with one hand on the handle and align the socket head with the nut or bolt. Apply steady pressure in the appropriate direction (clockwise for tightening, counterclockwise for loosening) to turn the nut or bolt. Use the leverage provided by the handle to apply torque effectively.
5. **Inspect and Repeat**: After tightening or loosening the nut or bolt, inspect the connection to ensure it is secure or removed as needed. If necessary, repeat the process with different socket heads until the task is completed satisfactorily.
Brand
SOCKET WRENCH
Based on 0 reviews
Be the first to review “48 IN 1 SOCKET WRENCH”
Related products
-
Electronics, Stock Clearance
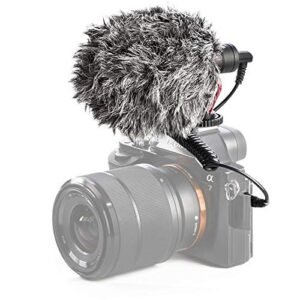
Candc DC C9 Cardioid Microphone
– Brand: CANDC
– Polar Pattern : Cardioid
– Professional Furry Windshield Included
– Compact and Lightweight Directional Mic
– Compatible with Smartphones, Tablets, DSLR Cameras, Consumer Camcorders, Audio Recorders etcSKU: Candc DC C9 Cardioid Microphone

There are no reviews yet.