
-
×
 سوار جوجل فيتبيت إير أكتيف باند، سوار سيليكون بلون الخزامى
1 × 20.900 OMR
المجموع: 20.900 OMR
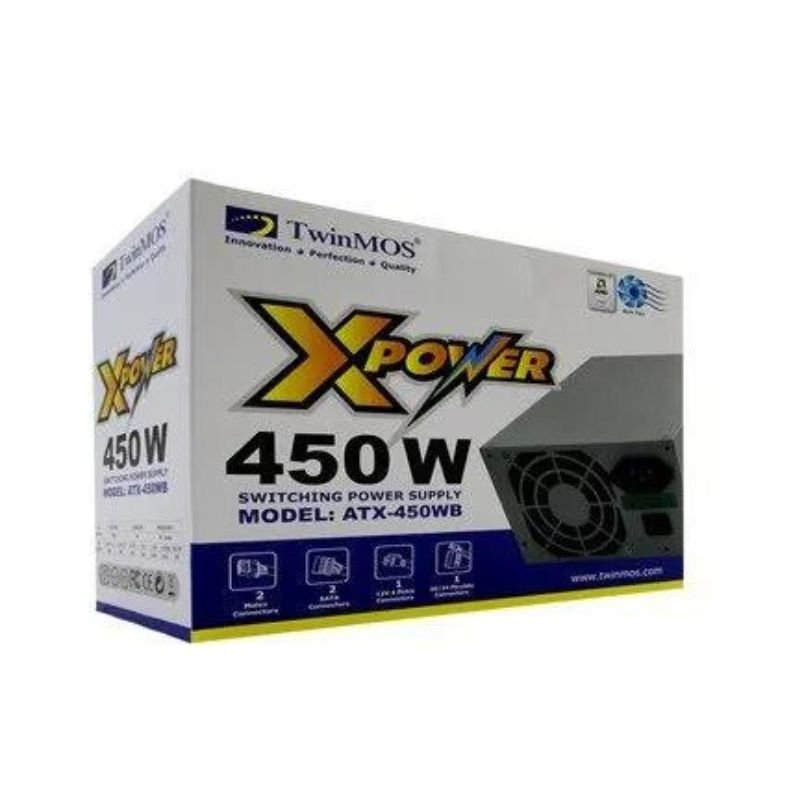
SKU: TWINMOS X POWERSUPPLY 450W
غير متوفر في المخزون
The Twinmos X Power Supply 450W is a reliable and efficient power supply unit designed to meet the demands of modern computer systems. With a maximum output of 450 watts, it provides stable and consistent power delivery to ensure optimal performance and longevity of your components. Equipped with industry-standard connectors and built-in protections, this power supply offers compatibility with a wide range of motherboards and peripherals while safeguarding against overvoltage, overcurrent, and short circuits. The Twinmos X Power Supply 450W is an excellent choice for both entry-level and mid-range desktop PCs, offering dependable performance at an affordable price point.
غير متوفر في المخزون
1. **Power Off Your Computer**: Before installing or replacing any power supply unit (PSU), it’s crucial to power off your computer and disconnect it from any power source to avoid electrical hazards.
2. **Open Your Computer Case**: Use a screwdriver to remove the screws securing the side panel of your computer case. Once removed, carefully slide off the side panel to access the internal components.
3. **Locate the Existing Power Supply Unit**: Identify the existing power supply unit (PSU) inside your computer case. It’s typically located at the top or bottom rear of the case, where the power cord connects to the external power source.
4. **Remove the Existing Power Supply Unit**: Depending on your computer case, there may be screws securing the PSU in place. Unscrew these and disconnect any power cables connected to the motherboard, drives, and other components. Carefully slide out the old PSU from the case.
5. **Install the Twinmos X Power Supply 450W**: Slide the Twinmos X Power Supply 450W into the empty slot left by the old PSU. Ensure that the PSU aligns with the screw holes in the case. Secure the PSU in place by screwing it onto the case. Next, connect the necessary power cables to the motherboard, drives, graphics card, and other components as per your computer’s configuration.
6. **Close Your Computer Case**: Once all connections are made and the PSU is securely installed, replace the side panel of your computer case and fasten the screws to secure it in place.
7. **Power On Your Computer**: Reconnect your computer to the power source and power it on. Verify that the Twinmos X Power Supply 450W is functioning correctly by checking for any LED indicators or fan activity.
تصميم الكل في واحد: حامل عمودي لوحدة التحكم في الألعاب + مراوح تبريد + محطة شحن وحدة التحكم + منافذ USB.
حامل عمودي: تصميم موفر للمساحة مصمم حصريًا لجهاز PlayStation 4، يحافظ على وحدة التحكم الخاصة بك لاستخدامها بثبات في وضع عمودي.
2 منفذ شحن لوحدة التحكم: اشحن وحدتي تحكم في الألعاب في وقت واحد، مما يوفر وقتك عندما تحتاج إلى شحن وحدات التحكم.
مروحة تبريد مزدوجة: حافظ على برودة جهاز PS4 الخاص بك مع نظام التبريد وأطِل عمر وحدة التحكم في PS4.
 أقل سعر
 الخدمة والإصلاح


 أحدث


لا توجد مراجعات حتى الآن.