-
×
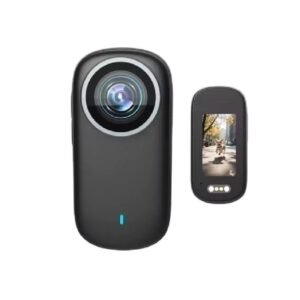 Cleo-EL Action Camera 4K With Screen
1 × 28.900 OMR
Cleo-EL Action Camera 4K With Screen
1 × 28.900 OMR -
×
 Anker Charger B2679K11 Pd 100w Type C to Type C
1 × 14.900 OMR
Anker Charger B2679K11 Pd 100w Type C to Type C
1 × 14.900 OMR -
×
 BOYA LAVALIER MICROPHONE BY M40D
1 × 20.000 OMR
BOYA LAVALIER MICROPHONE BY M40D
1 × 20.000 OMR -
×
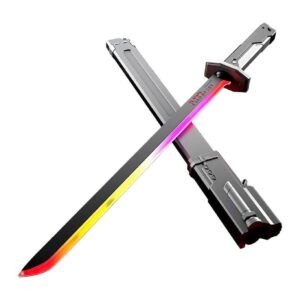 Cleo-TY Sparkblade LED Samurai Katana Toy 8899Y1
1 × 9.900 OMR
Cleo-TY Sparkblade LED Samurai Katana Toy 8899Y1
1 × 9.900 OMR -
×
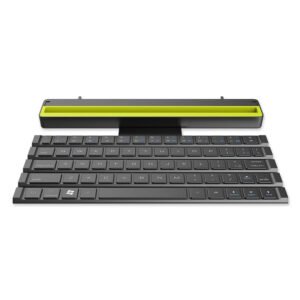 Rock R4 Multi Function Rollable Keyboard
1 × 4.000 OMR
Rock R4 Multi Function Rollable Keyboard
1 × 4.000 OMR -
×
 BOYA WIRELESS MICROPHONE BY WM4 PRO
1 × 47.900 OMR
BOYA WIRELESS MICROPHONE BY WM4 PRO
1 × 47.900 OMR -
×
 Tempered Glass - For Tablets
1 × 1.900 OMR
Tempered Glass - For Tablets
1 × 1.900 OMR -
×
 ONTEN USB to HDMI Adapter
1 × 8.900 OMR
ONTEN USB to HDMI Adapter
1 × 8.900 OMR -
×
 LG KT-LG1 AC REMOTE
1 × 3.900 OMR
LG KT-LG1 AC REMOTE
1 × 3.900 OMR -
×
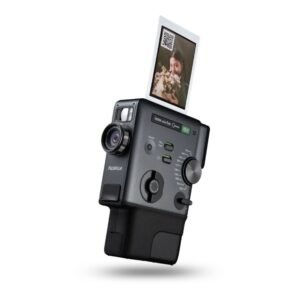 Fujifilm Instax Mini Evo Cinema Hybrid Instant Camera
1 × 154.900 OMR
Fujifilm Instax Mini Evo Cinema Hybrid Instant Camera
1 × 154.900 OMR -
×
 محول لاسلكي يو اس بي من تي بي لينك - TL WN725N
1 × 2.900 OMR
محول لاسلكي يو اس بي من تي بي لينك - TL WN725N
1 × 2.900 OMR
المجموع: 298.100 OMR
 أقل سعر
 الخدمة والإصلاح
لا توجد مراجعات حتى الآن.