-
×
 فيلم زجاجي لعدسة كاميرا آي فون 11 برو المعدني من USAMS
1 × 1.900 OMR
فيلم زجاجي لعدسة كاميرا آي فون 11 برو المعدني من USAMS
1 × 1.900 OMR -
×
 GO-DES GD-HD668 CAR MOUNT HOLDER
1 × 1.900 OMR
GO-DES GD-HD668 CAR MOUNT HOLDER
1 × 1.900 OMR -
×
 TRUSSARDI DONNA WOMEN'S EDP 100 ML
1 × 19.500 OMR
TRUSSARDI DONNA WOMEN'S EDP 100 ML
1 × 19.500 OMR -
×
 BEHRINGER SX 3040 SONIC EXCITOR
1 × 48.800 OMR
BEHRINGER SX 3040 SONIC EXCITOR
1 × 48.800 OMR -
×
 BEHRINGER X-2222USB MIXER
1 × 160.000 OMR
BEHRINGER X-2222USB MIXER
1 × 160.000 OMR -
×
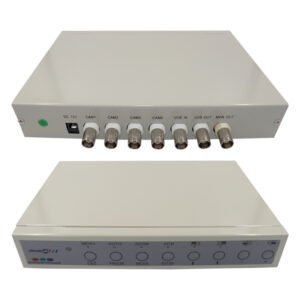 PROLINE PR 704 Digital Quad
1 × 49.500 OMR
PROLINE PR 704 Digital Quad
1 × 49.500 OMR -
×
 AHUJA BGM 880AHUJA BGM 880 80W RMS AM +FM Tunner Cassette AMPLIFIER
1 × 149.000 OMR
AHUJA BGM 880AHUJA BGM 880 80W RMS AM +FM Tunner Cassette AMPLIFIER
1 × 149.000 OMR -
×
 Tovaste Y096 Lectern in Black With Usb + Sd
1 × 119.000 OMR
Tovaste Y096 Lectern in Black With Usb + Sd
1 × 119.000 OMR -
×
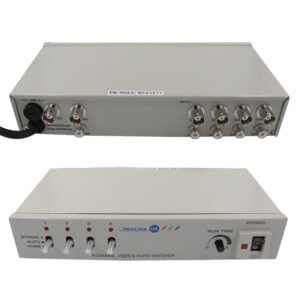 PROLINE TS 904 SWITCHER
1 × 40.000 OMR
PROLINE TS 904 SWITCHER
1 × 40.000 OMR -
×
 YH 25 PS4 Multifunctional Heat Dissipation Charging Bracket
1 × 12.900 OMR
YH 25 PS4 Multifunctional Heat Dissipation Charging Bracket
1 × 12.900 OMR -
×
 AHUJA TZA4000 200+200WRMS PA Amp W/6Mic/2Aux Inp AMPLIFIER
1 × 190.000 OMR
AHUJA TZA4000 200+200WRMS PA Amp W/6Mic/2Aux Inp AMPLIFIER
1 × 190.000 OMR -
×
 Newstar Foot Rocker Footrest 91 FR02
1 × 4.250 OMR
Newstar Foot Rocker Footrest 91 FR02
1 × 4.250 OMR -
×
 ميلوديكا ميلوديكا النحلة Bm 13k
1 × 5.900 OMR
ميلوديكا ميلوديكا النحلة Bm 13k
1 × 5.900 OMR -
×
 ميكروفون كاندك DC C9 كارديويد ميكروفون
1 × 3.500 OMR
ميكروفون كاندك DC C9 كارديويد ميكروفون
1 × 3.500 OMR -
×
 WRIST WATCH CK 102S BLOOD PRESSURE MONITOR
1 × 12.800 OMR
WRIST WATCH CK 102S BLOOD PRESSURE MONITOR
1 × 12.800 OMR -
×
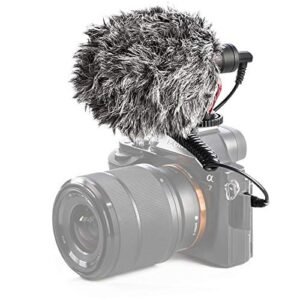
 BOYA BY WM4 PRO K3 2.4GHz WIRELESS MICROPHONE SYSTEM
1 × 49.900 OMR
BOYA BY WM4 PRO K3 2.4GHz WIRELESS MICROPHONE SYSTEM
1 × 49.900 OMR
المجموع: 868.850 OMR
 أقل سعر
 الخدمة والإصلاح
 أحدث
أحدث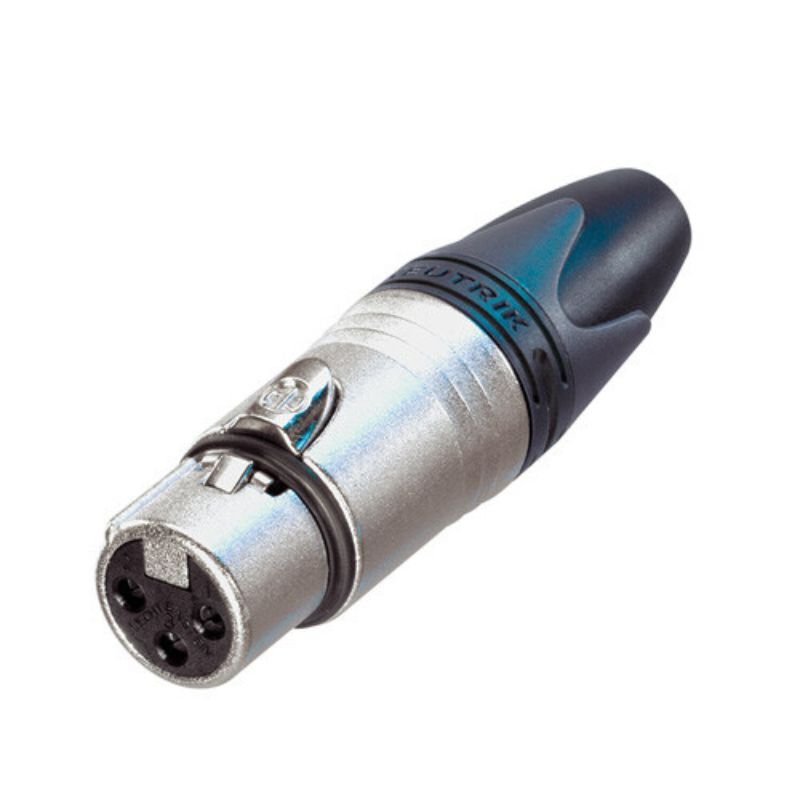

لا توجد مراجعات حتى الآن.