-
×
 CANON 445+446 Combo Pack Ink Cartridge
1 × 13.700 OMR
CANON 445+446 Combo Pack Ink Cartridge
1 × 13.700 OMR -
×
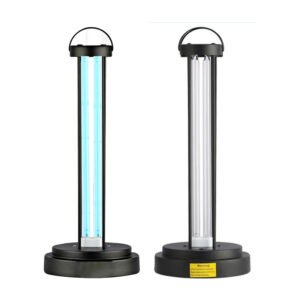 HY 015 Ultraviolet Disinfection Lamp
1 × 3.450 OMR
HY 015 Ultraviolet Disinfection Lamp
1 × 3.450 OMR -
×
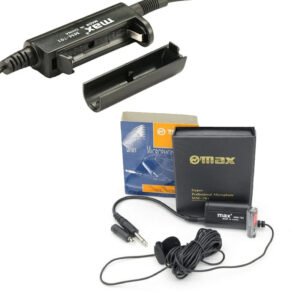
 MAX BMS 135 BOOM MIC STAND
2 × 9.500 OMR
MAX BMS 135 BOOM MIC STAND
2 × 9.500 OMR -
×
 BOYA WIRELESS MICROPHONE BY WM4 PRO
1 × 47.900 OMR
BOYA WIRELESS MICROPHONE BY WM4 PRO
1 × 47.900 OMR -
×
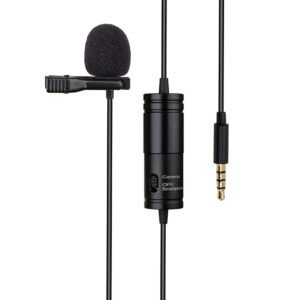
 BOYA LAVALIER MICROPHONE BY M40D
1 × 20.000 OMR
BOYA LAVALIER MICROPHONE BY M40D
1 × 20.000 OMR -
×
 YH 25 PS4 Multifunctional Heat Dissipation Charging Bracket
1 × 12.900 OMR
YH 25 PS4 Multifunctional Heat Dissipation Charging Bracket
1 × 12.900 OMR -
×
 KALIMBA 17 KEYS FINGER PIANO
1 × 13.800 OMR
KALIMBA 17 KEYS FINGER PIANO
1 × 13.800 OMR -
×
 Newstar Ldt08T04 13"-27" Full Motion Monitor Desk Mount
1 × 21.800 OMR
Newstar Ldt08T04 13"-27" Full Motion Monitor Desk Mount
1 × 21.800 OMR -
×
 AHUJA UTP30 WIRED TIE CLIP MIC
1 × 10.000 OMR
AHUJA UTP30 WIRED TIE CLIP MIC
1 × 10.000 OMR -
×
 LAVALIER MICROPHONE LJ02
1 × 1.800 OMR
LAVALIER MICROPHONE LJ02
1 × 1.800 OMR
المجموع: 164.350 OMR
 أقل سعر
 الخدمة والإصلاح
 أحدث
أحدث


لا توجد مراجعات حتى الآن.