
 New Arrivals
 Offers
 Service & Repair


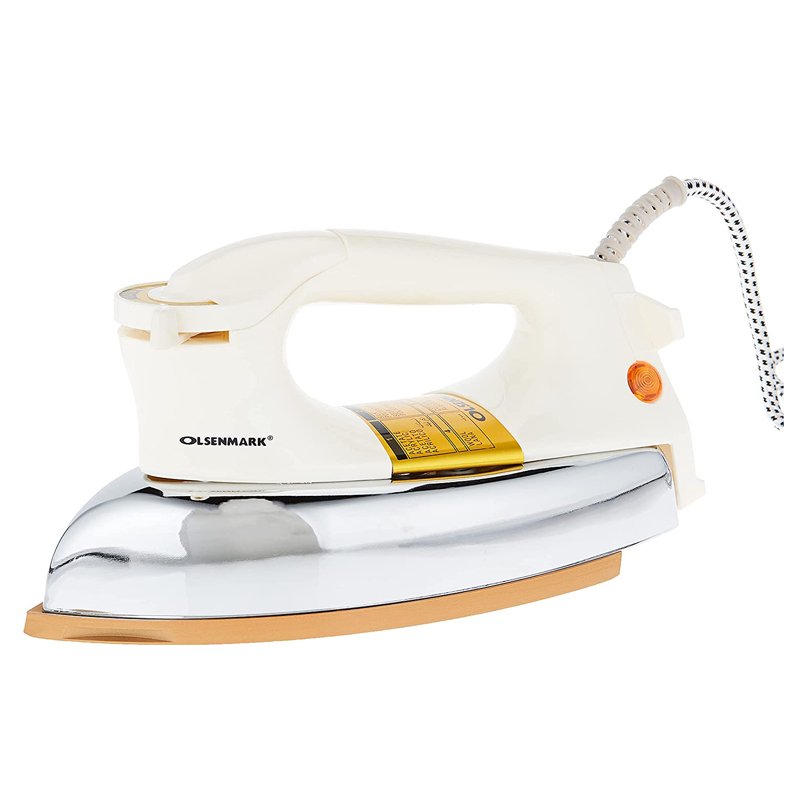
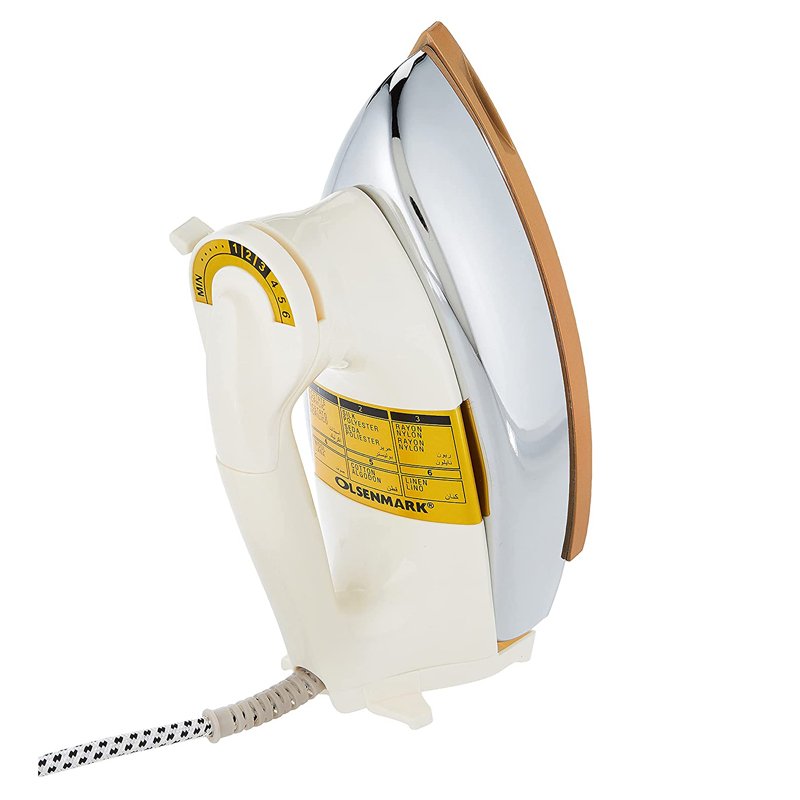
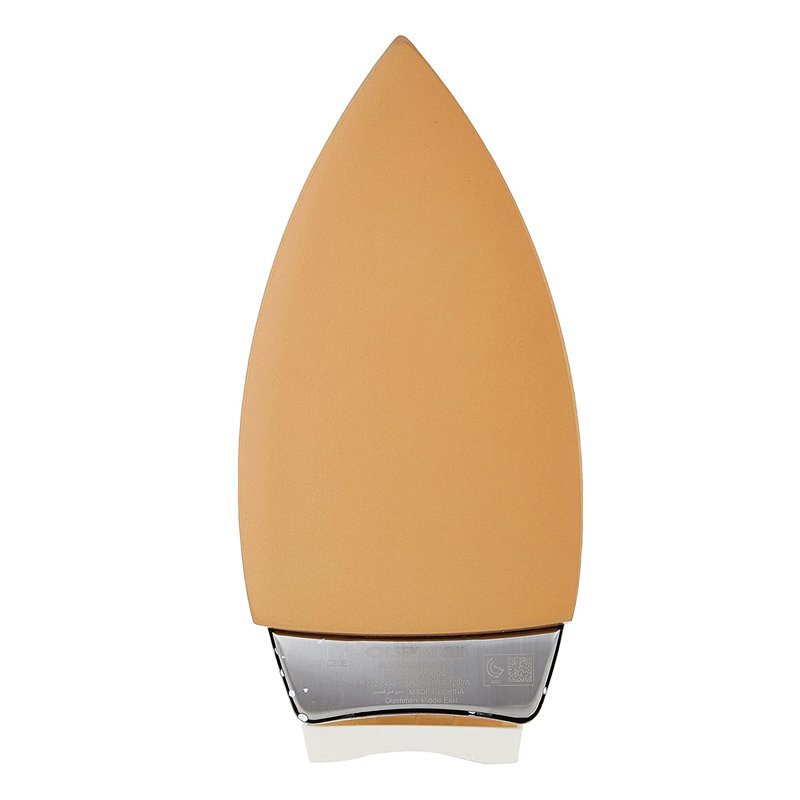
Olsenmark OMDI-1741 AUTOMATIC DRY IRON
SKU: OMDI-1741
Out of stock
AUTOMATIC DRY IRON
Brand Olsenmark
Model Number OMDI1741
Color White
Package Dimensions 28.2 x 14.8 x 13.4 cm; 980.03 Grams
Material Plastic
Special Features Non Stick
Item Weight 980 g
Nonstick sole plate.
Thermostat controlled pilot lamp
Protection against overheating
Temperature setting did helps to set the ideal heat setting for each fabric type
Adjustable temperature control
Out of stock
1. **Preparation**:
– Place the Olsenmark OMDI-1741 Automatic Dry Iron on a stable and flat surface, such as an ironing board or table.
– Ensure the iron is unplugged and the temperature control dial is set to the appropriate setting for your fabric type.
2. **Plug In**:
– Plug the iron into a suitable power outlet.
– Turn on the power switch to start heating the iron. Wait for the iron to heat up; most models have an indicator light to signal when it’s ready.
3. **Garment Preparation**:
– Prepare the garment you wish to iron by ensuring it is clean and free from any wrinkles.
– Lay the garment flat on the ironing board or another suitable surface.
4. **Ironing**:
– Hold the Olsenmark OMDI-1741 Automatic Dry Iron by the handle and gently glide the soleplate smoothly over the fabric in straight, even strokes.
– Apply gentle pressure as needed to remove wrinkles and creases. For stubborn wrinkles, you may need to iron the same area multiple times.
5. **Power Off and Storage**:
– Once you’ve finished ironing, turn off the power switch and unplug the iron from the power outlet.
– Allow the iron to cool down completely before storing it in a safe and dry place.
– Ensure the iron is stored in an upright position to prevent damage to the soleplate.
By following these five steps, you can effectively use the Olsenmark OMDI-1741 Automatic Dry Iron to achieve smooth and wrinkle-free results on your garments.

There are no reviews yet.