
 أقل سعر
 الخدمة والإصلاح


 أحدث
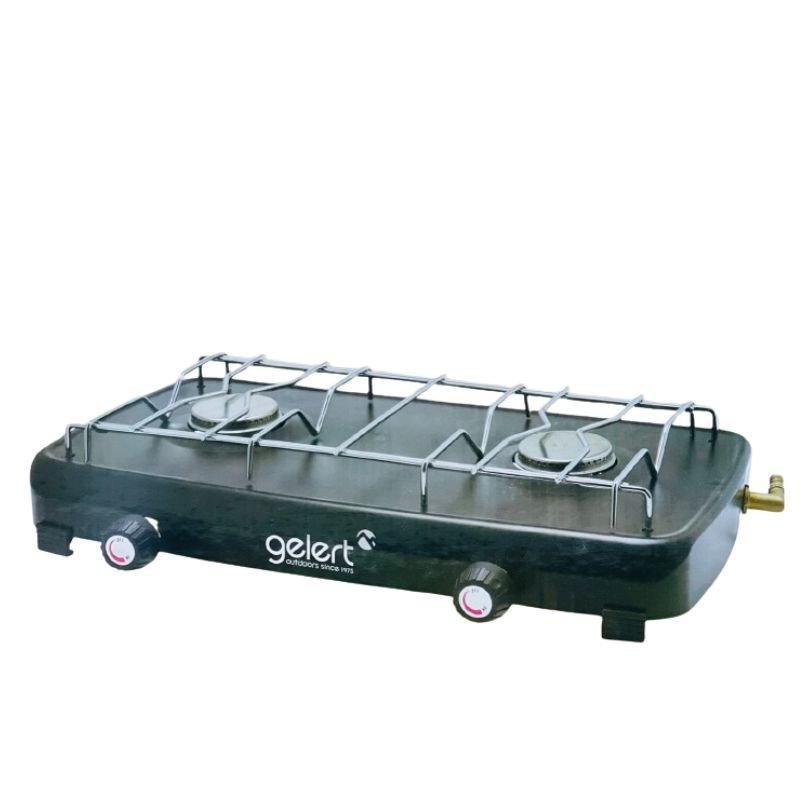
CPT Gelert Double Burner Gas Burner
SKU: CPT Gelert Double Burner Gas Burner
غير متوفر في المخزون
The CPT Gelert Double Burner Gas Burner is a versatile outdoor cooking appliance designed for camping and outdoor adventures. Featuring two burners, it provides ample cooking space for preparing meals on the go. Powered by gas, it offers quick and efficient heating, allowing you to cook your favorite dishes with ease. Its compact and portable design makes it easy to transport and set up at campsites or outdoor events. Whether you’re grilling, frying, or boiling, the CPT Gelert Double Burner Gas Burner is a reliable companion for outdoor cooking adventures.
غير متوفر في المخزون
1. **Setup**: Find a stable and level surface to place the gas burner. Ensure that the area is well-ventilated and away from any flammable materials. Place the burner on a sturdy table or flat ground.
2. **Gas Connection**: Connect the gas supply hose to the gas burner. Make sure the gas valve on the burner is in the off position before attaching the hose. Once connected, ensure that the connection is secure to prevent any gas leaks.
3. **Ignition**: Turn the gas valve knob to the “Ignite” or “Start” position. Depending on the model, you may need to push a built-in ignition button or use a separate lighter to ignite the burner. Listen for the sound of gas flowing and watch for the flame igniting on the burner.
4. **Adjust Flame**: Once the burner is ignited, adjust the flame height using the gas valve knob. Turn the knob clockwise to increase the flame size for higher heat or counterclockwise to decrease the flame size for lower heat. Adjust the flame to the desired intensity for your cooking needs.
5. **Cooking**: Place your cookware or grill grates on top of the burner. Allow the cookware to heat up to the desired temperature before adding food. Cook your meals as usual, monitoring the flame and adjusting as needed to maintain the desired heat level throughout the cooking process.
لا توجد مراجعات حتى الآن.