 أقل سعر
 الخدمة والإصلاح
 أحدث
أحدث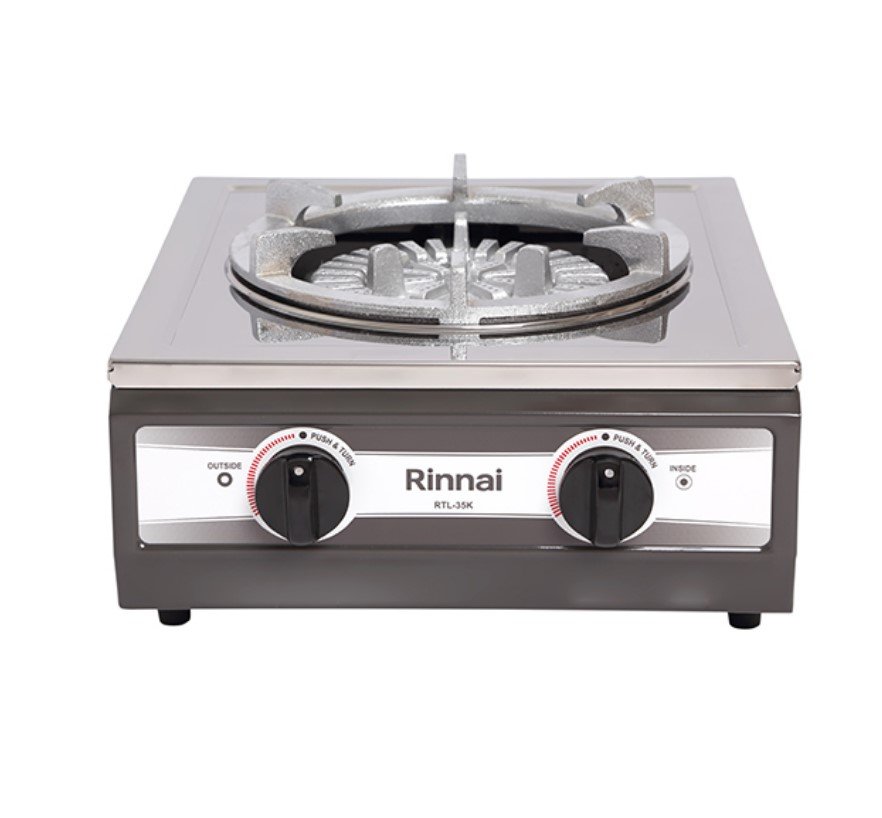
Rinnai RTL35K Single Gas Stove (Thailand)
SKU: 060207000016
متوفر في المخزون
- Single Burner
- Stainless Steel Top
- Cast Iron Burner
- Piezo Ignition
- Grey Painted Casting
27.800 OMR
متوفر في المخزون
1. Unpack and Inspect: Carefully unpack the Rinnai RTL35K Gas Stove and inspect all components for any damage or missing parts. Ensure everything, including the stove unit, burner grate, gas knob, and user manual, is present and in good condition.
2. Prepare the Workspace: Choose a stable and level surface in a well-ventilated area of your kitchen for the stove. Keep it away from flammable materials and ensure the gas hose can comfortably reach the gas source without any obstructions.
3. Connect the Gas Supply: Securely attach one end of the gas hose to the gas inlet on the stove unit. Connect the other end to a compatible gas source, such as a propane tank or natural gas line, using the provided fittings. Ensure all connections are tightened properly and check for leaks using a soapy water solution.
4. Ignite the Burner: Turn the gas knob on the stove unit to the “OFF” position. Gradually open the gas valve on the gas source. Use a match or a lighter to ignite the burner flame, holding it near the burner while turning the gas knob to the desired flame intensity.
5. Adjust and Cook: Once the burner flame is ignited, adjust the flame intensity using the gas knob to achieve the desired cooking temperature. Place your cookware on the burner grate and start cooking your preferred dishes. After use, turn off the gas supply at the source and allow the stove to cool before cleaning and storing it away.
Following these steps will help you safely set up and use the Rinnai RTL35K Single Gas Stove, providing a reliable cooking solution for your kitchen needs.
لا توجد مراجعات حتى الآن.